11. Soft robotics#
Overall a fun week, playing around with extra shaped balloons, silicon molds with fancy air-channels !
Vinyl Inflatables#
We started this week’s assignment by playing around with vinyl sheets and baking paper..
What that means is quite simple : You create an inflatable by cutting twice the same shape in vinyl and once a smaller and thiner version of that shape in baking paper.
Here’s a little sketch on how it could look like :
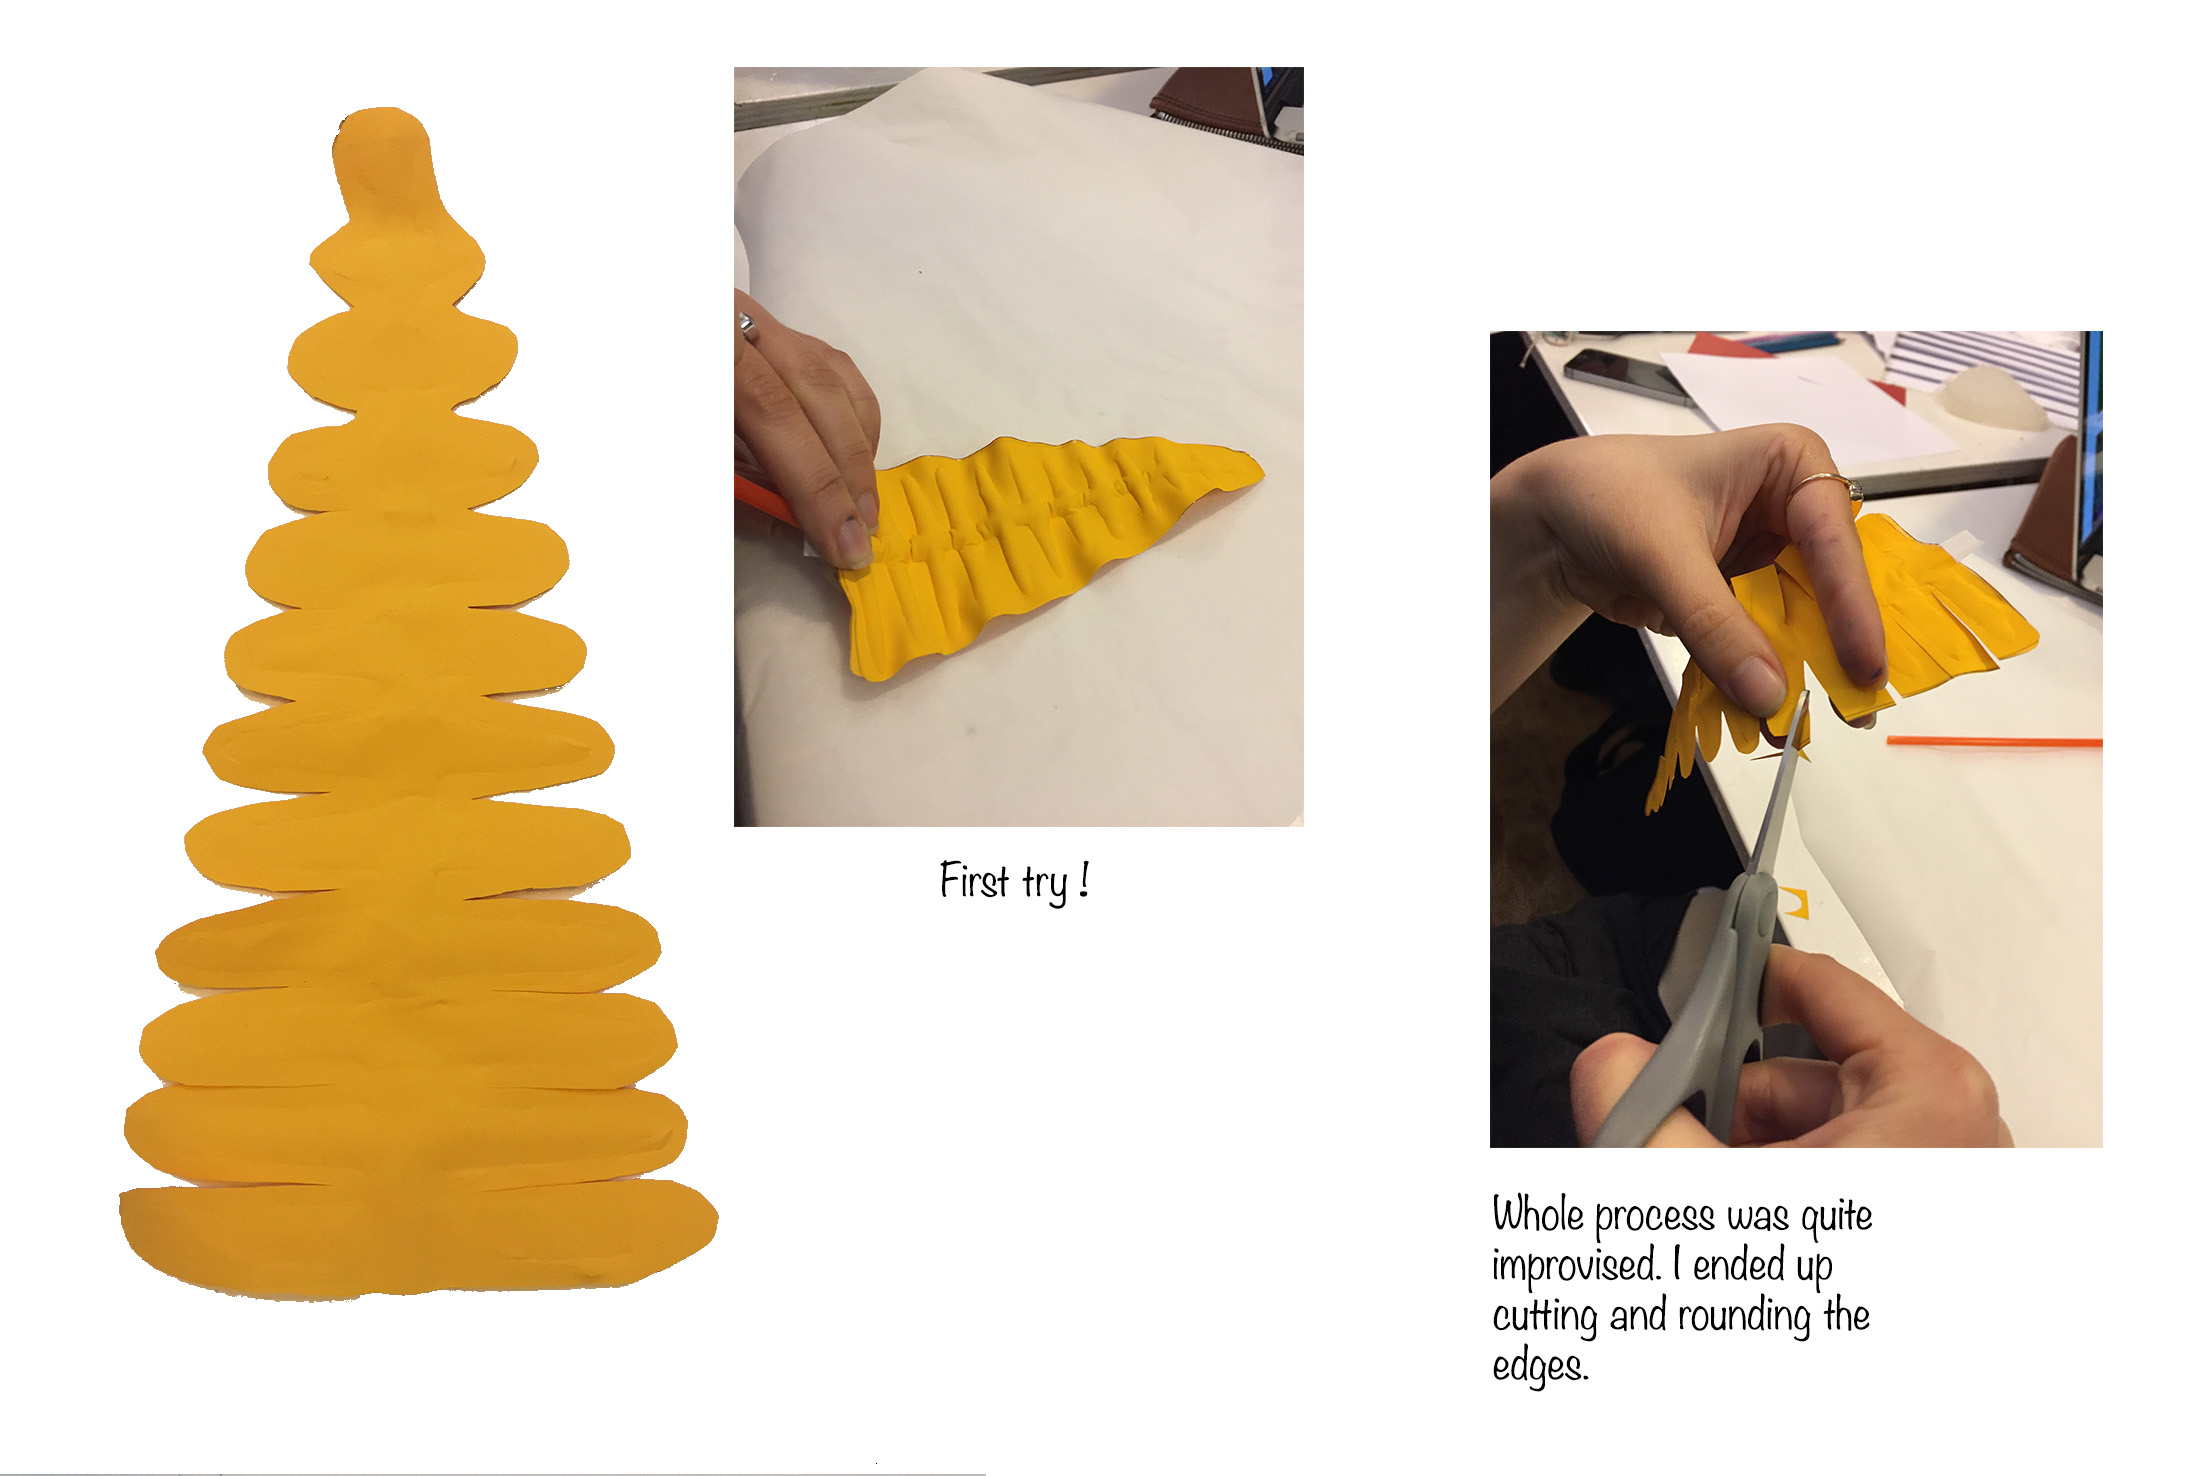
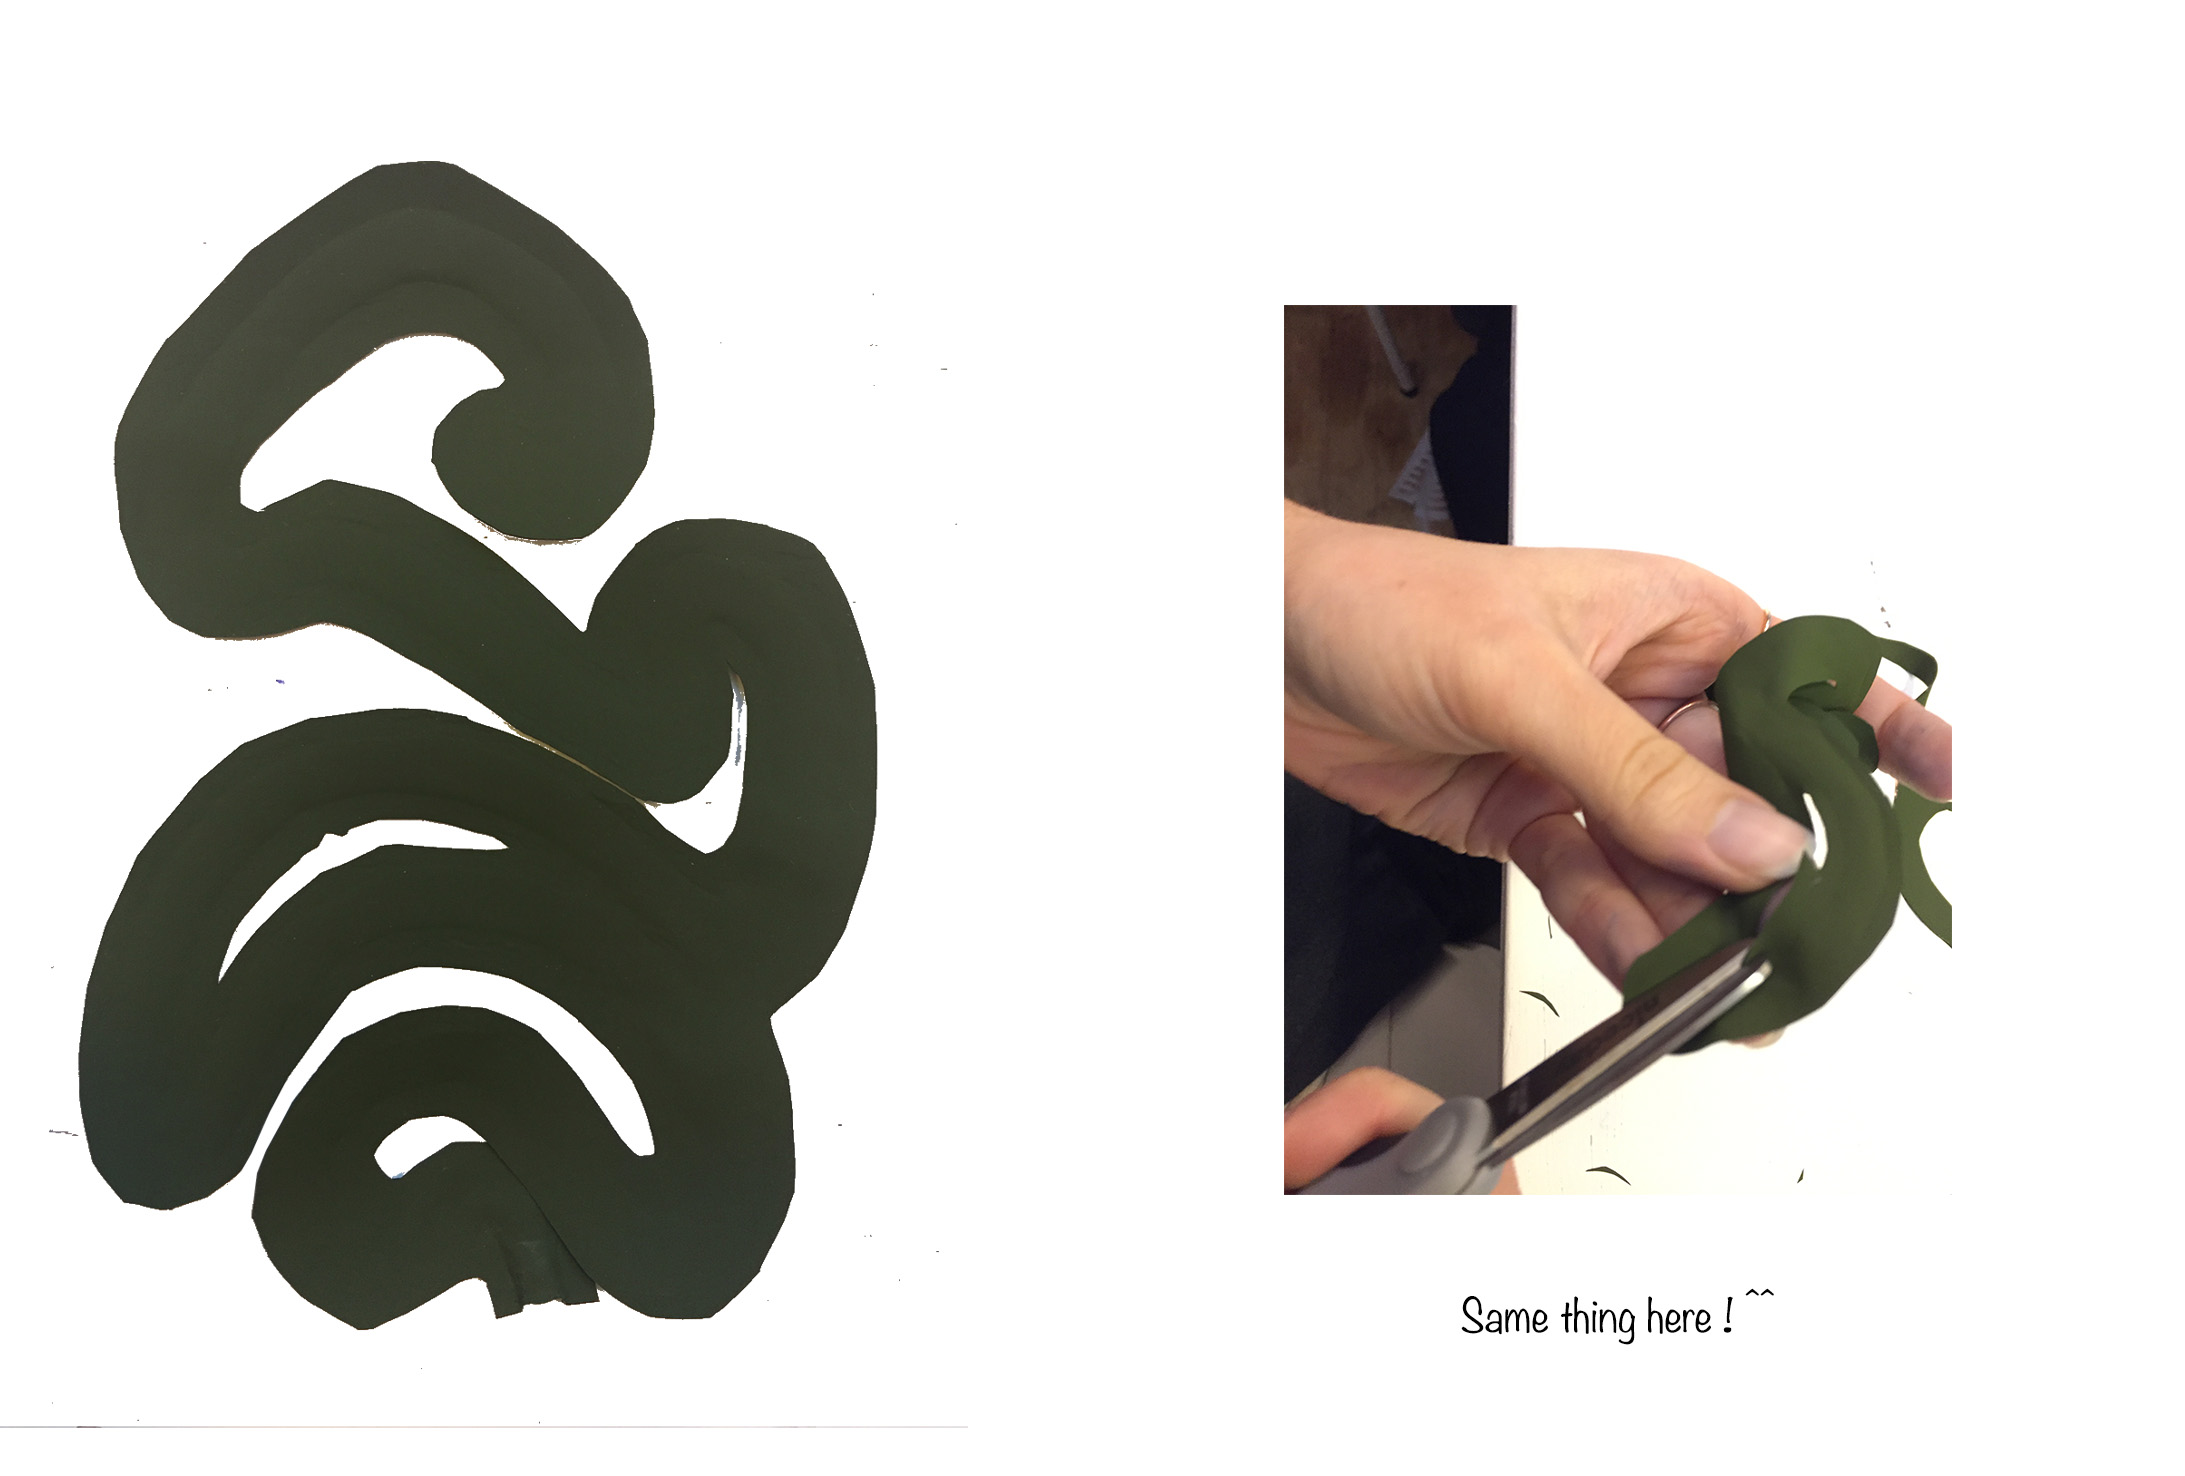
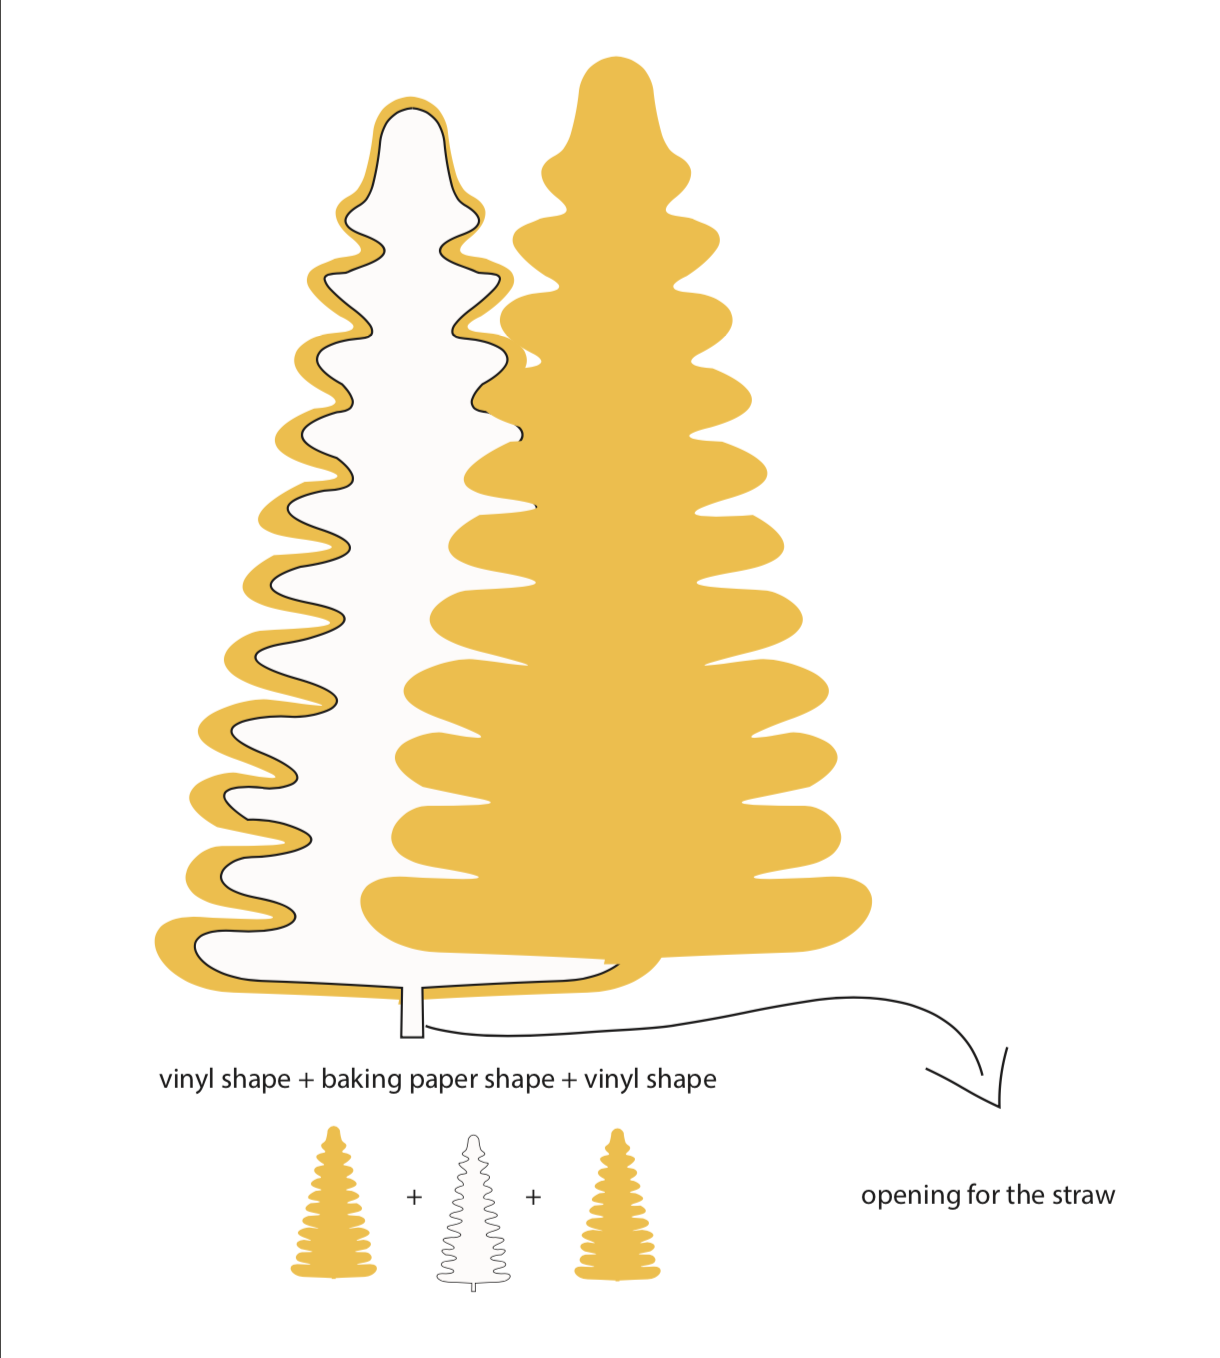 And here’s the physical example of it :


Soft Robotics#
For the soft robotic I just researched some parametric exercises on youtube and hoped to get inspired.
Morph Boxes#
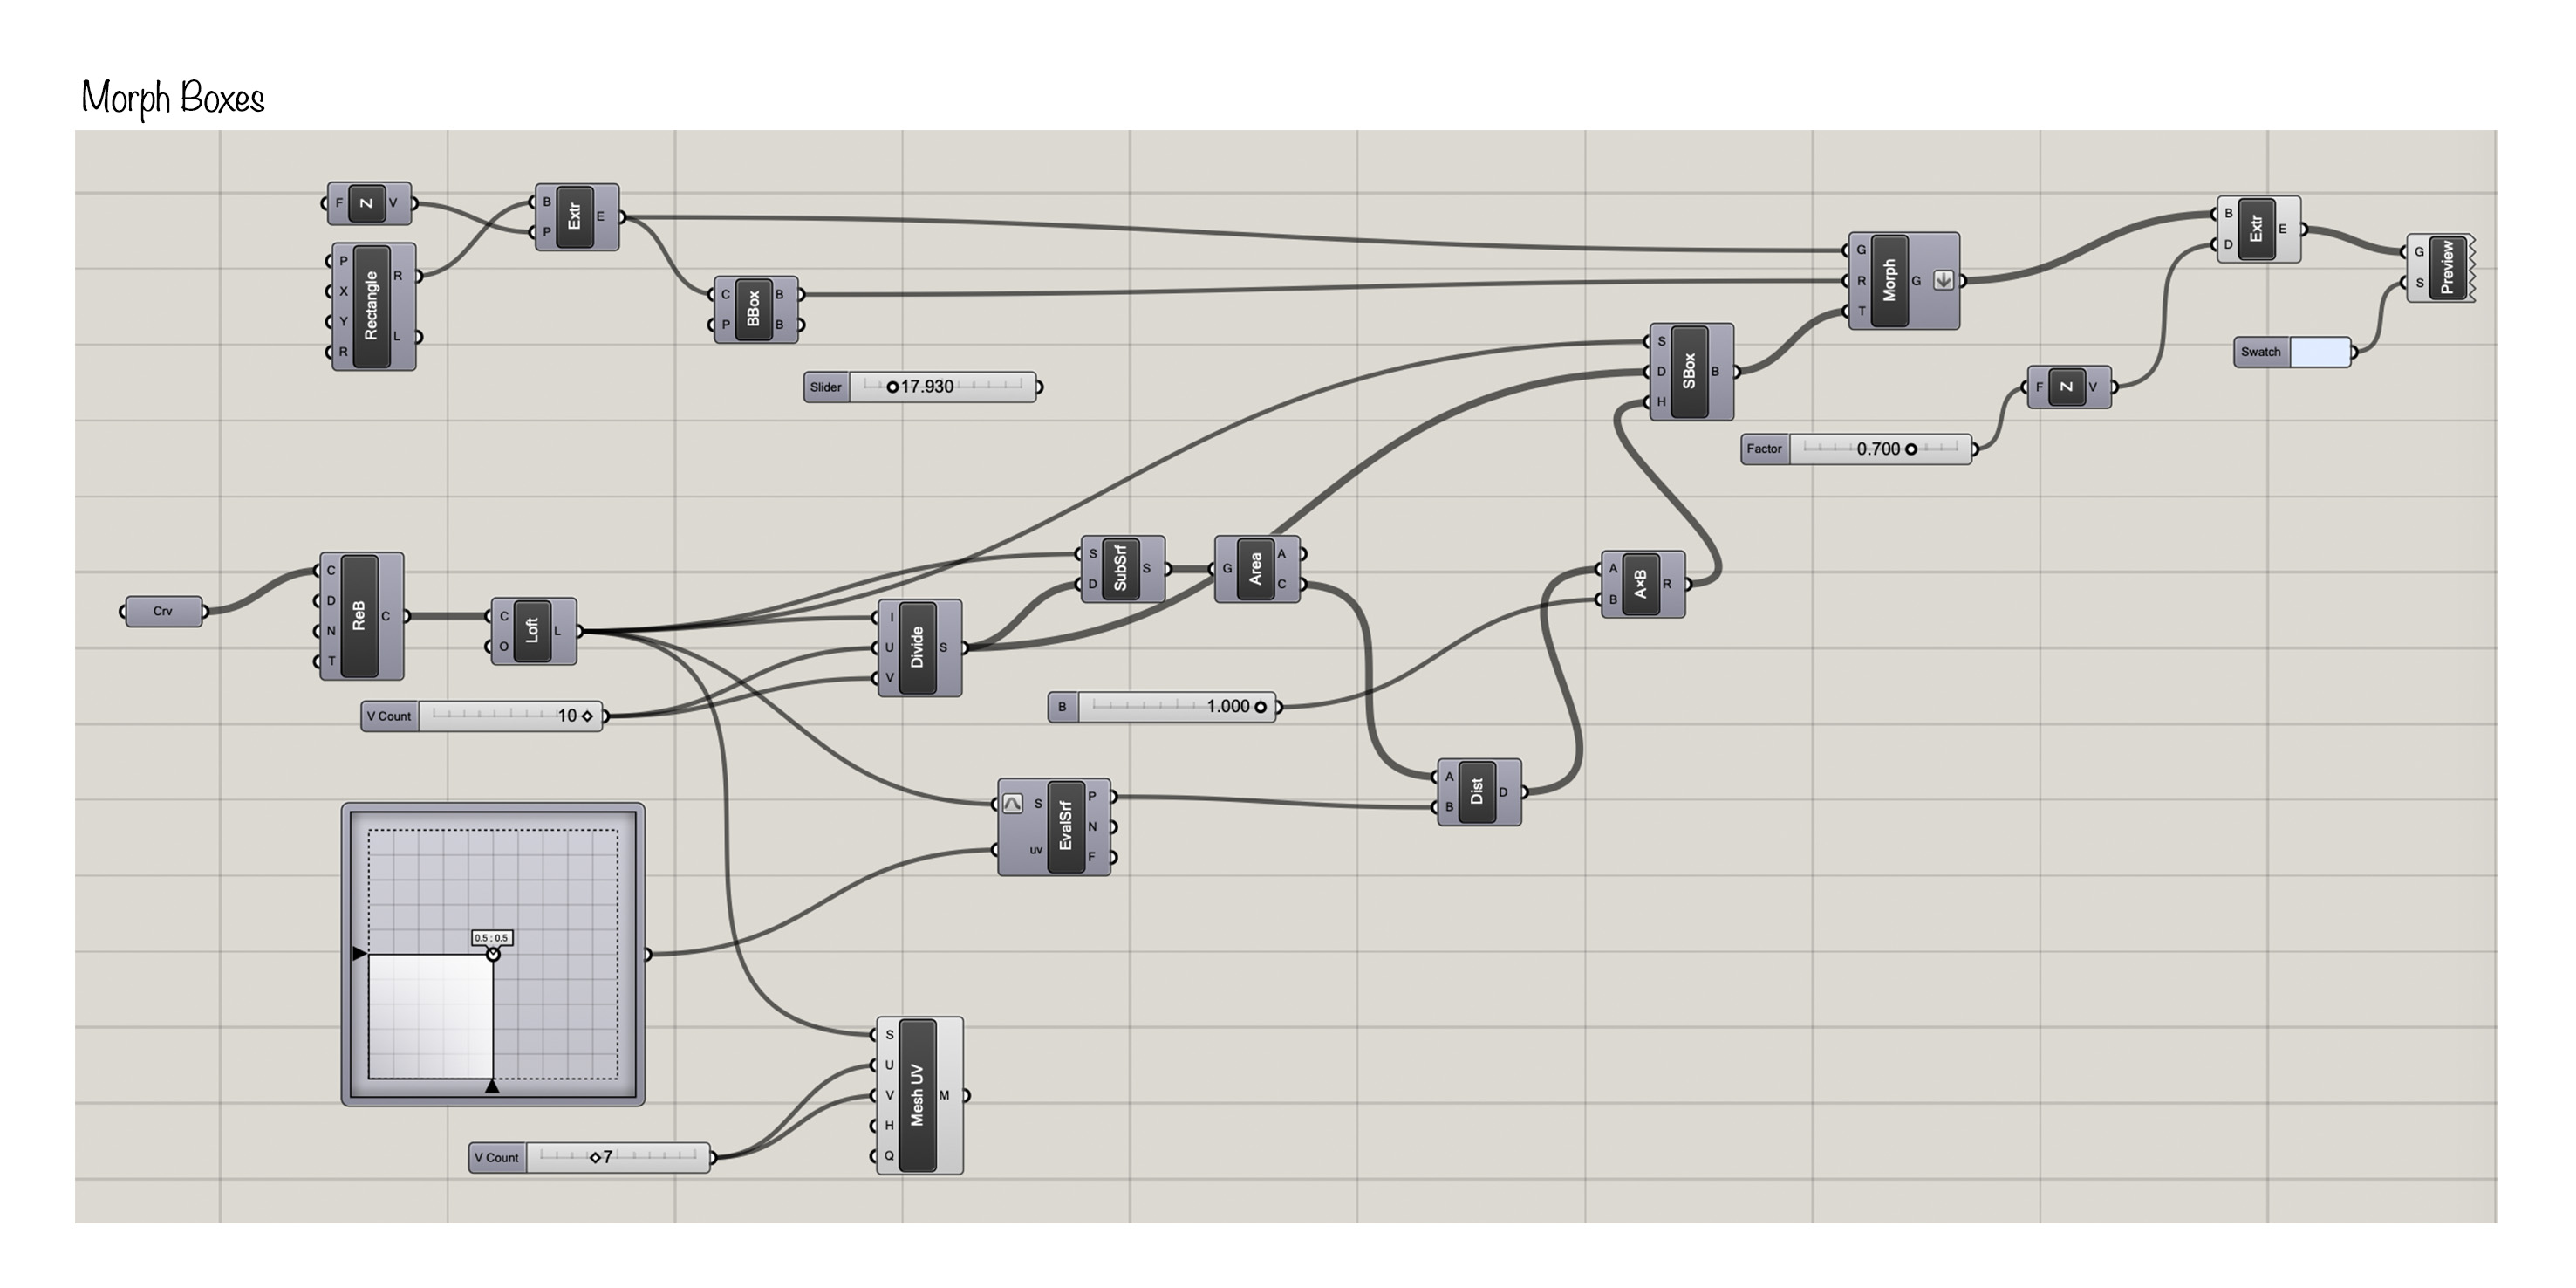
I started with an exercise on how to use Morph boxes on Rhino with Grasshopper. By following the steps I ended up with this :

Polar Array#
I followed a second video on how to create and use Polar Array. I had the most fun with it and I changed the design and shapes several times just to develop the results a little further. Here’s a sample of the Grasshopper code :
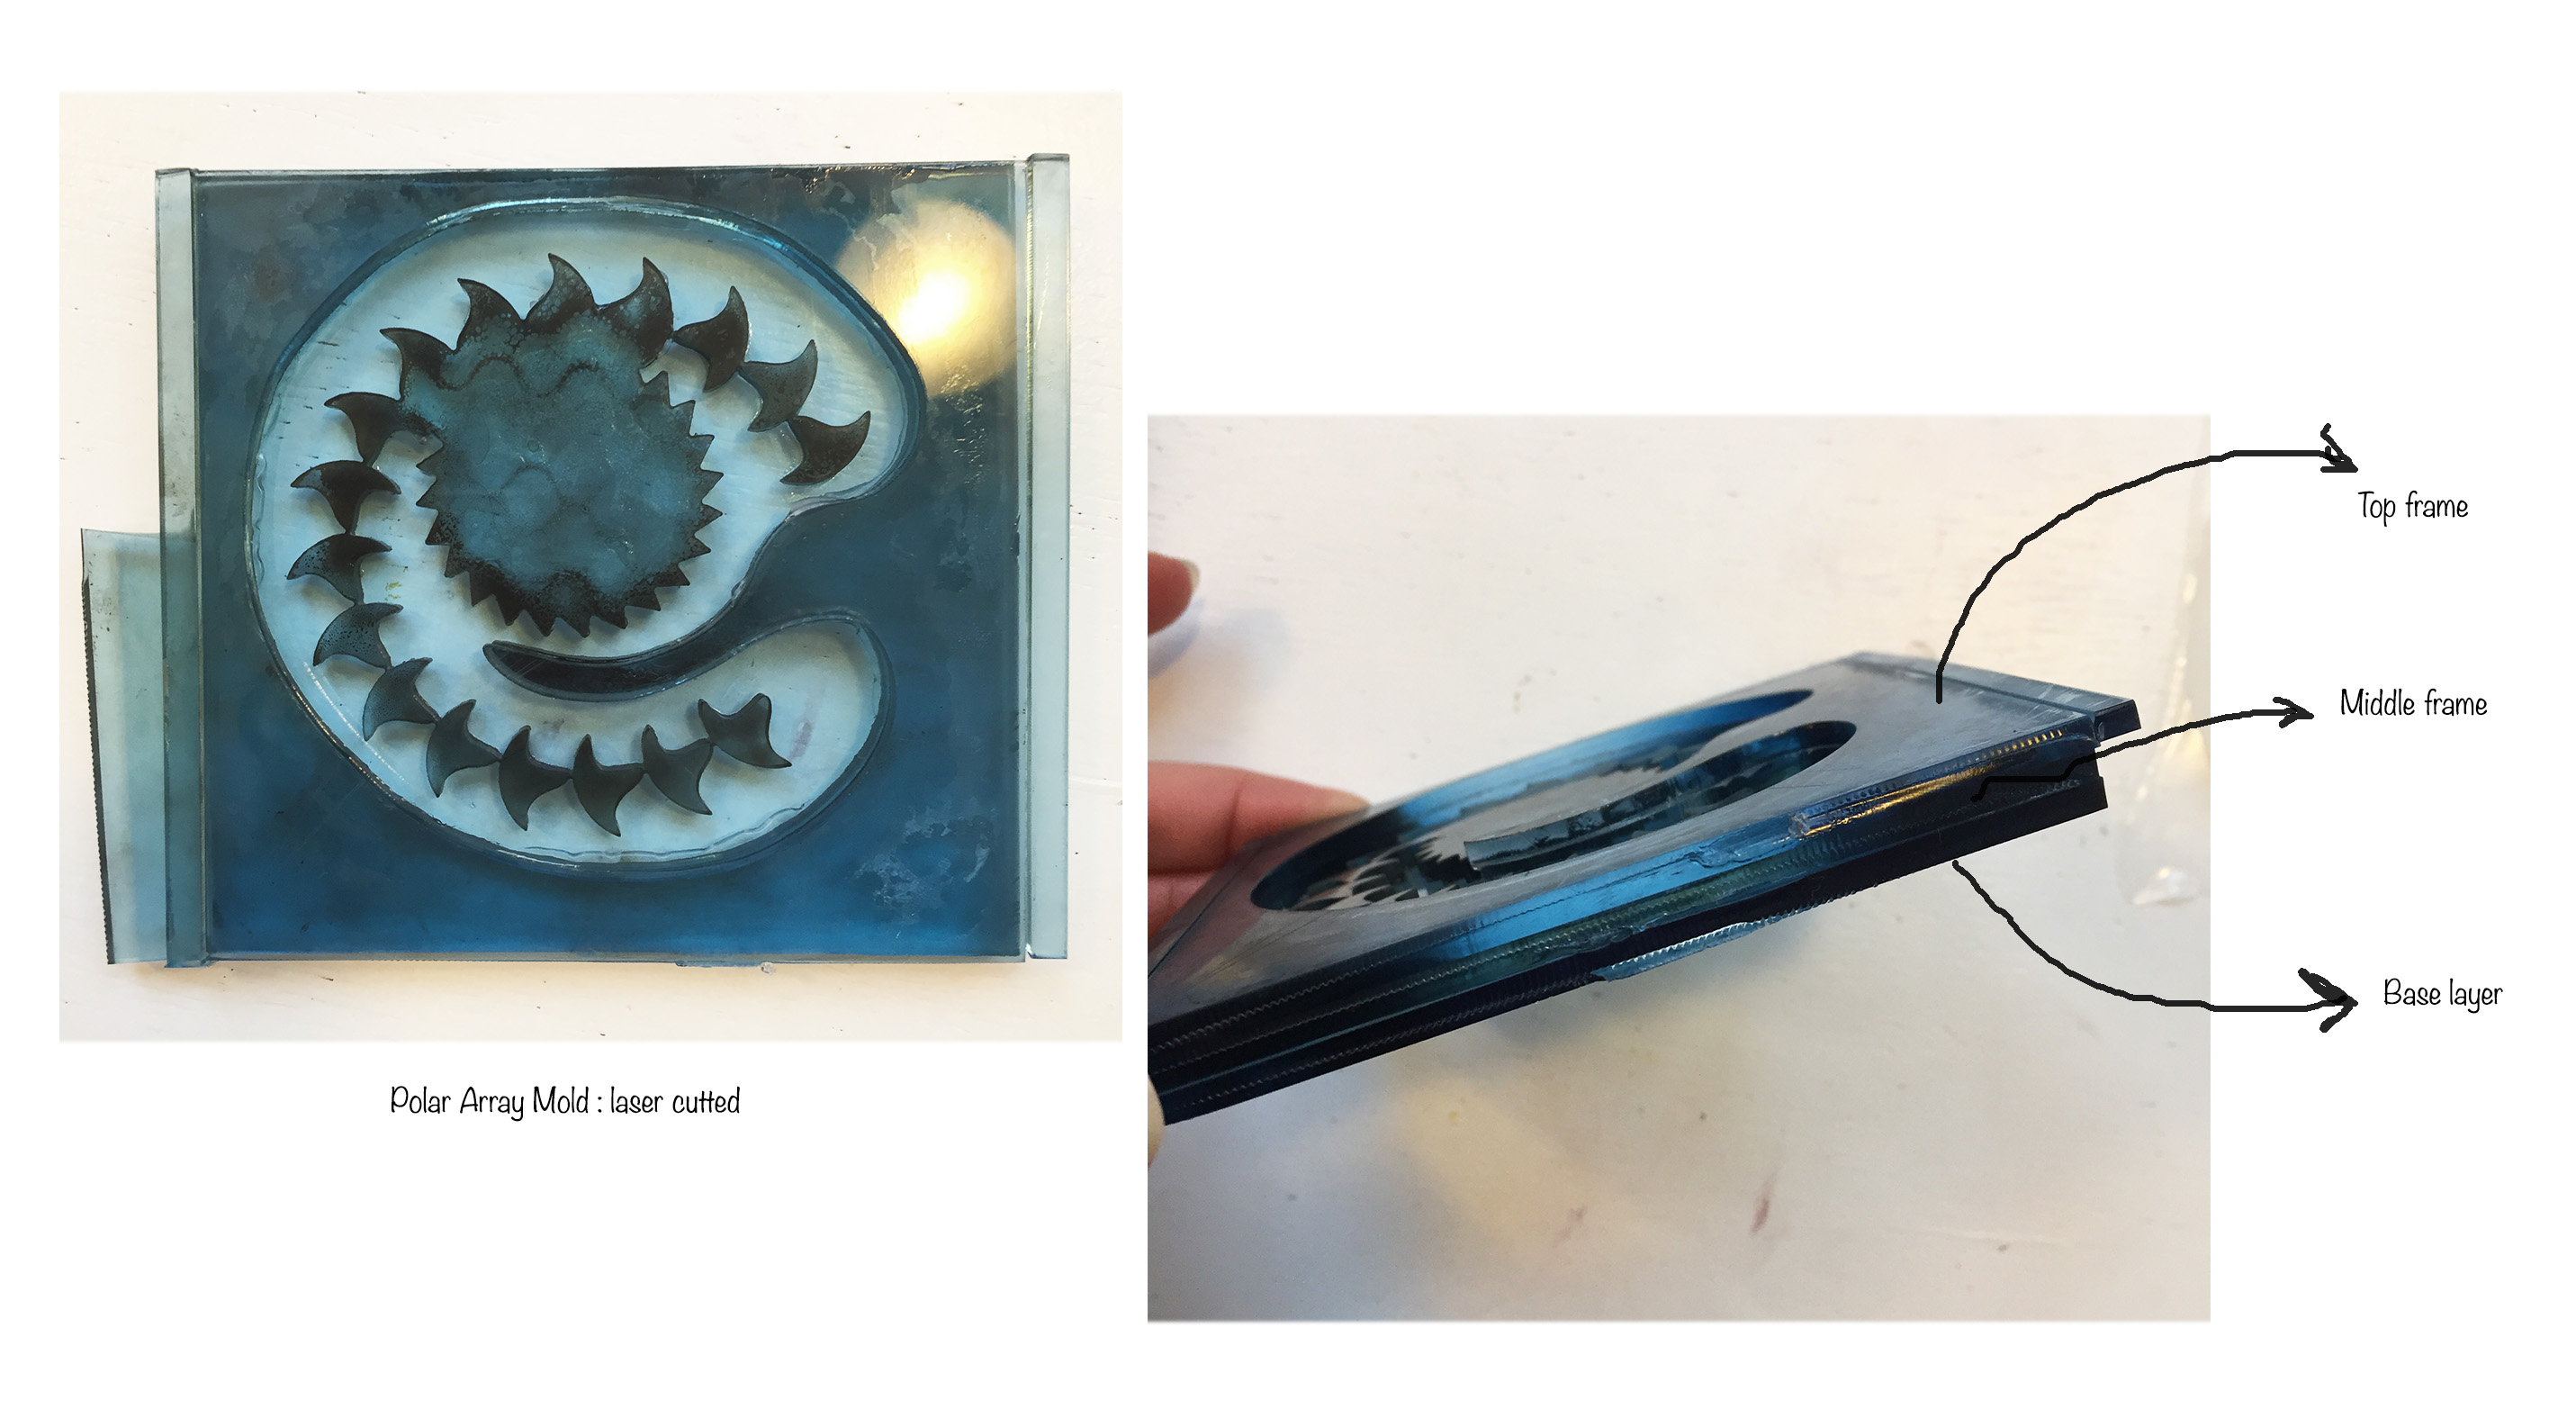
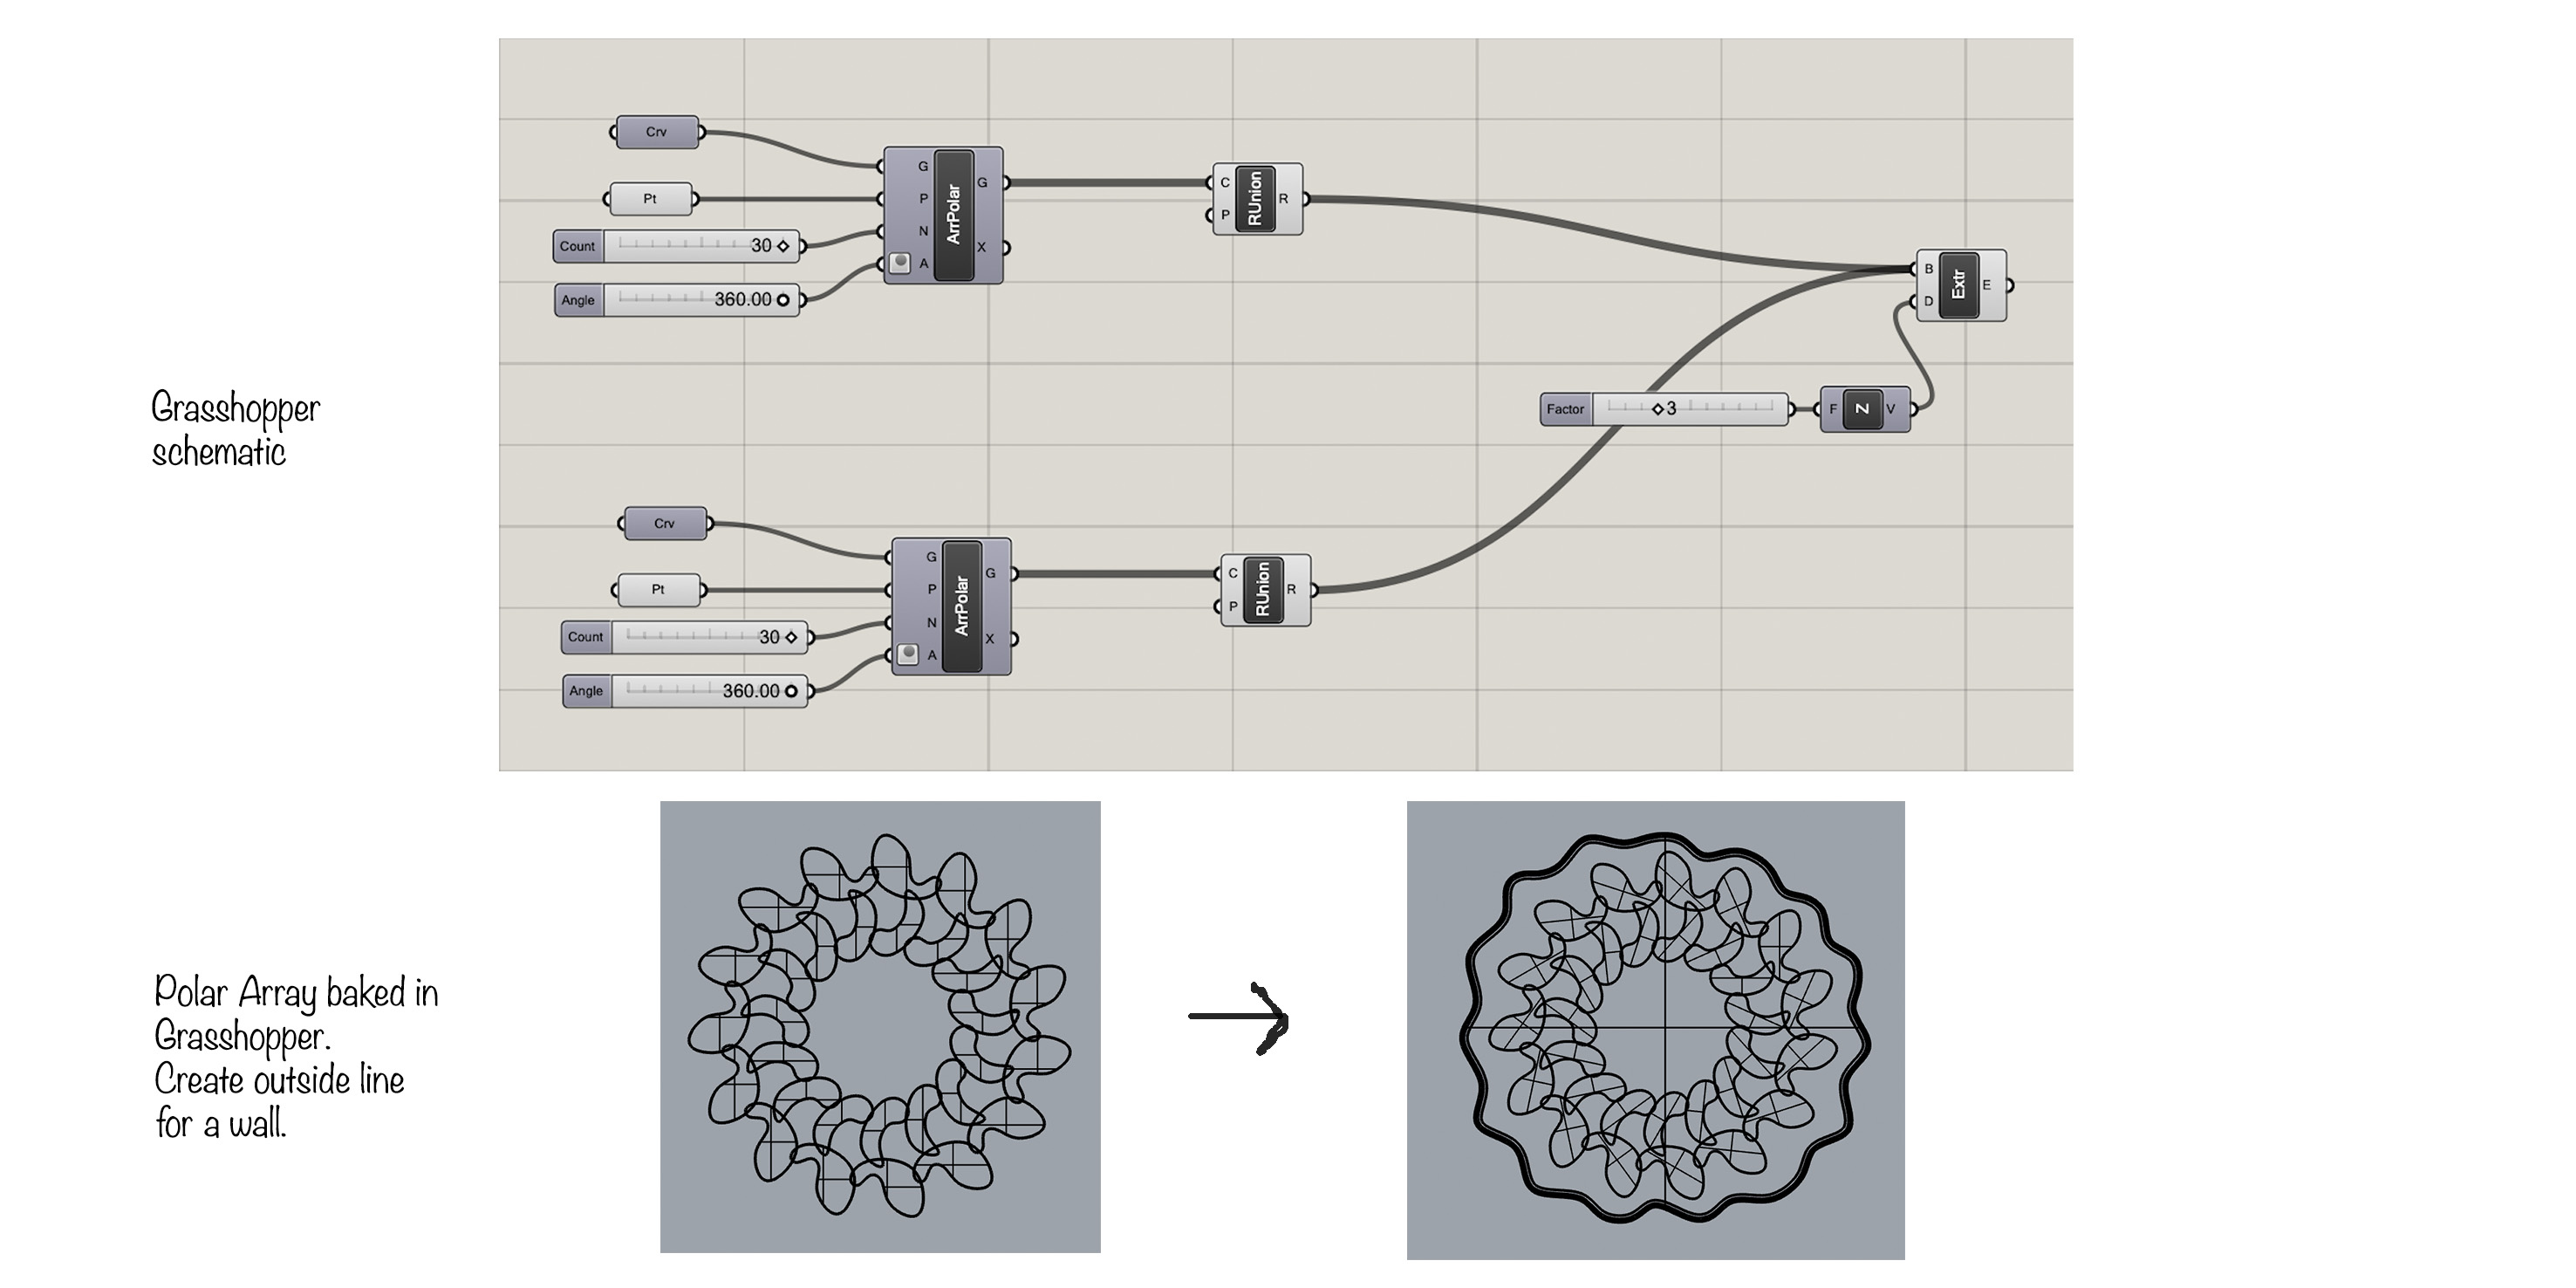 When your satisfied with the result you bake it in Grasshopper and continue the next steps on Rhino. You’ll need to trace an outline around to create a wall for your mold ( extrude the line ). You’ll also need a thin platform to close the mold on the bottom.
You can see the different steps/layers here :
When your satisfied with the result you bake it in Grasshopper and continue the next steps on Rhino. You’ll need to trace an outline around to create a wall for your mold ( extrude the line ). You’ll also need a thin platform to close the mold on the bottom.
You can see the different steps/layers here :

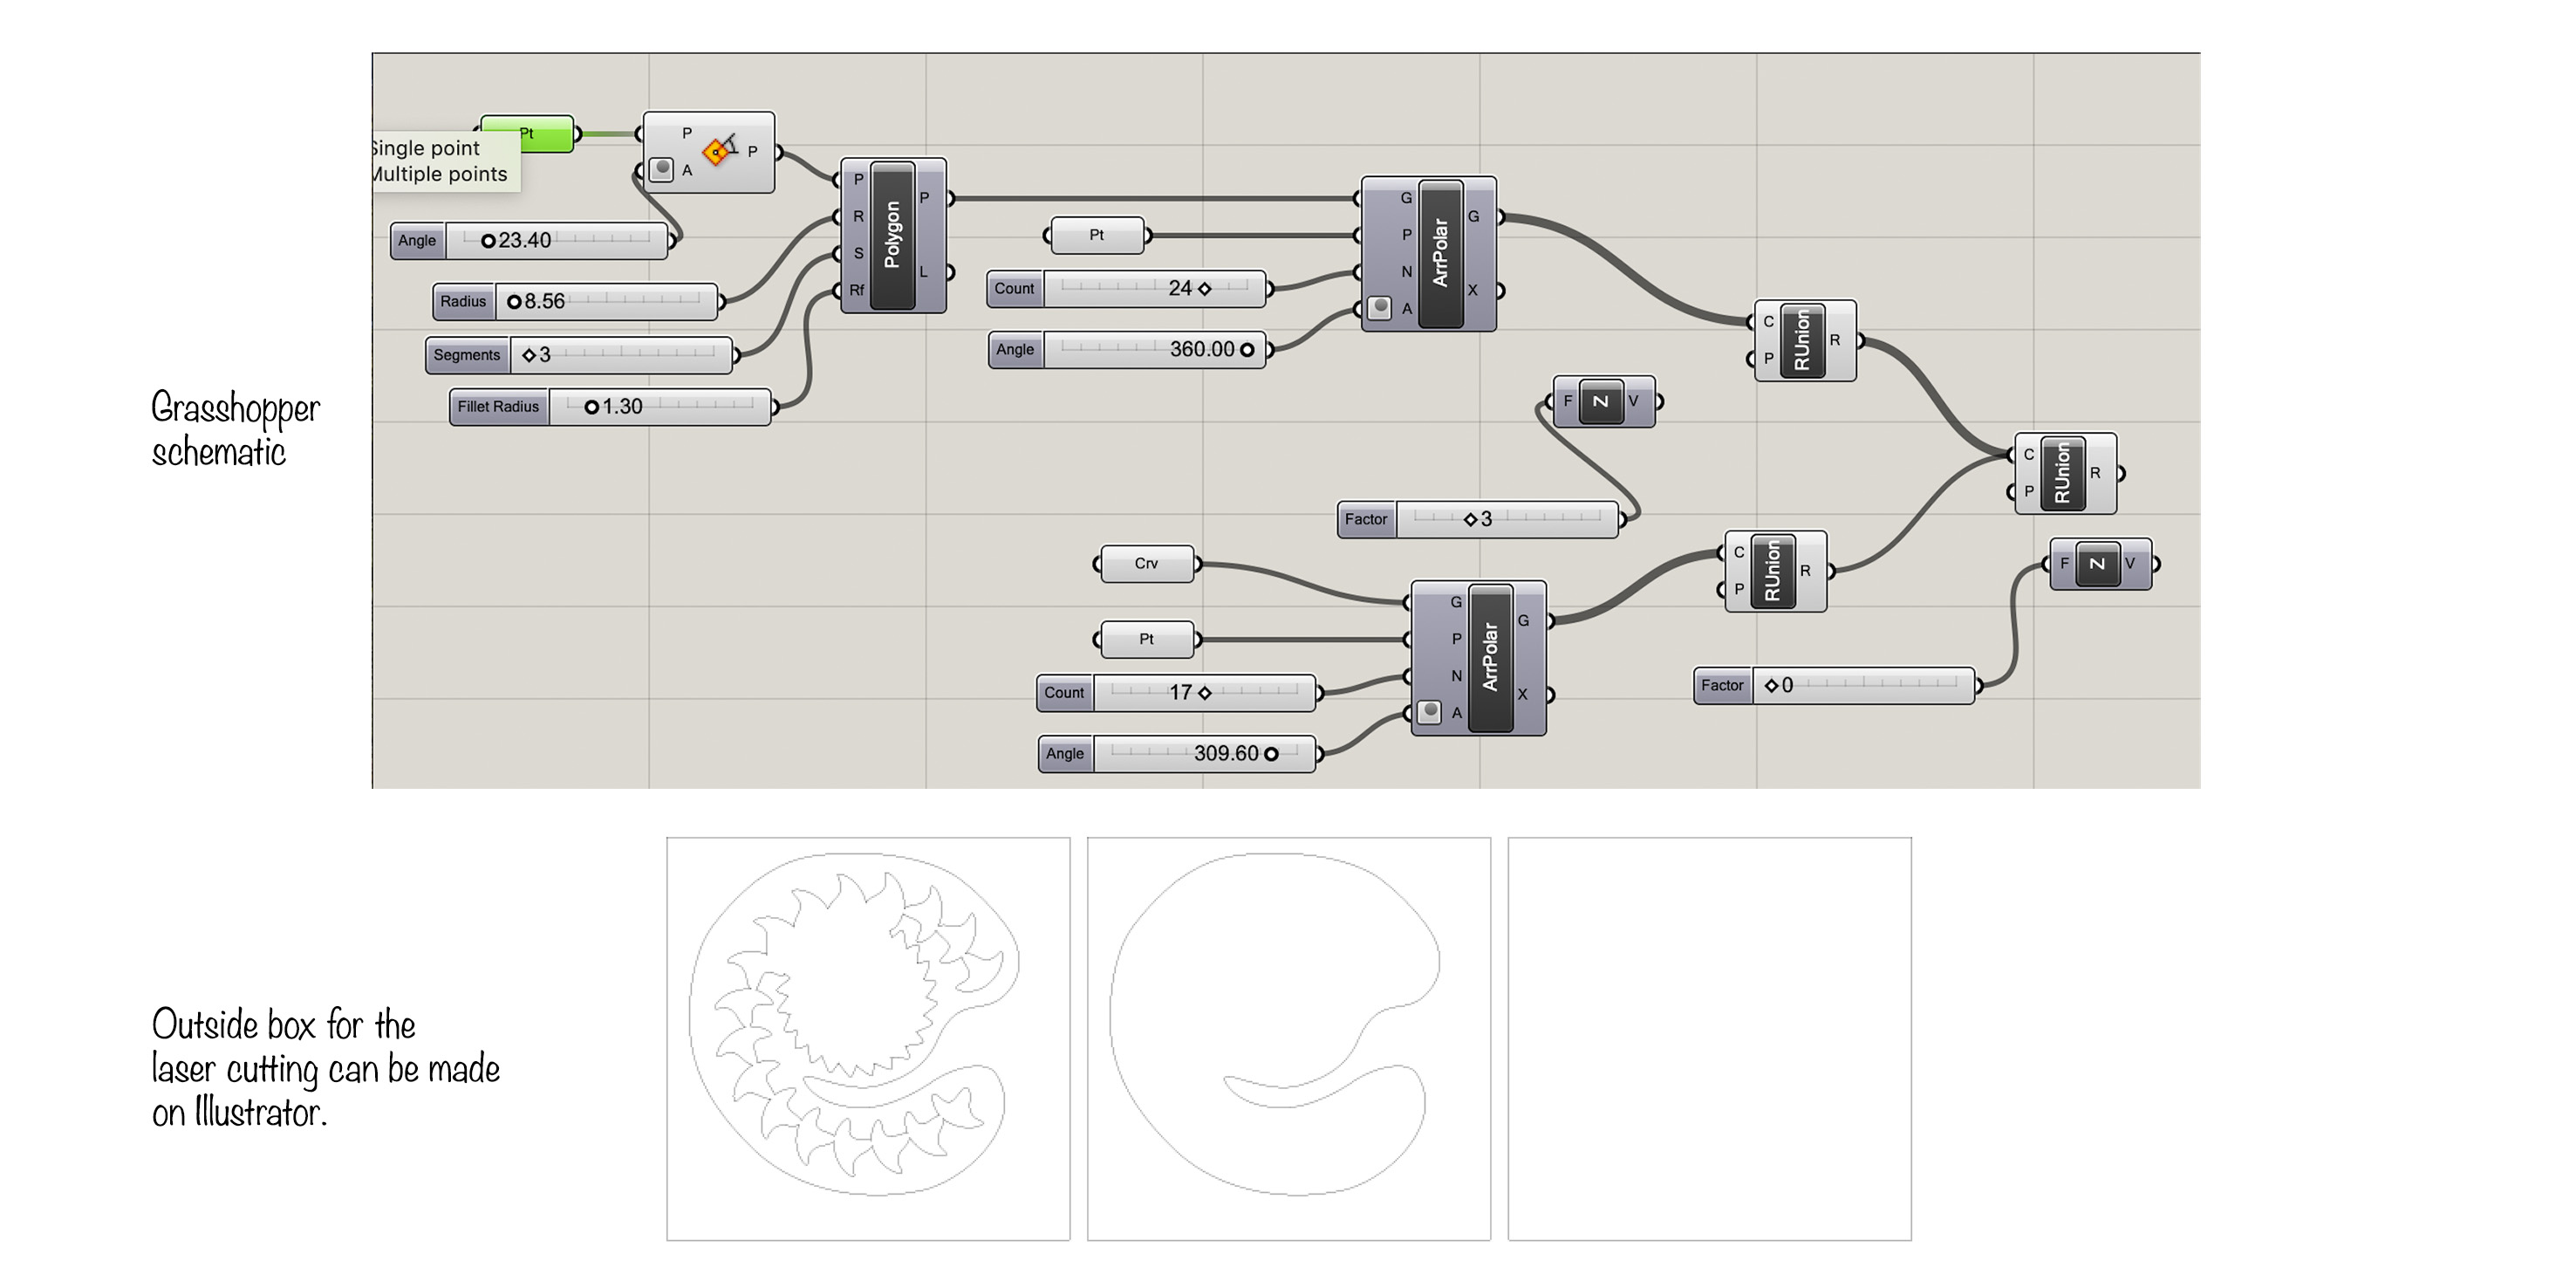 You can of course change the design of your Grasshopper code at any time. This is why you’ll find above another sample of code, as I made another design.
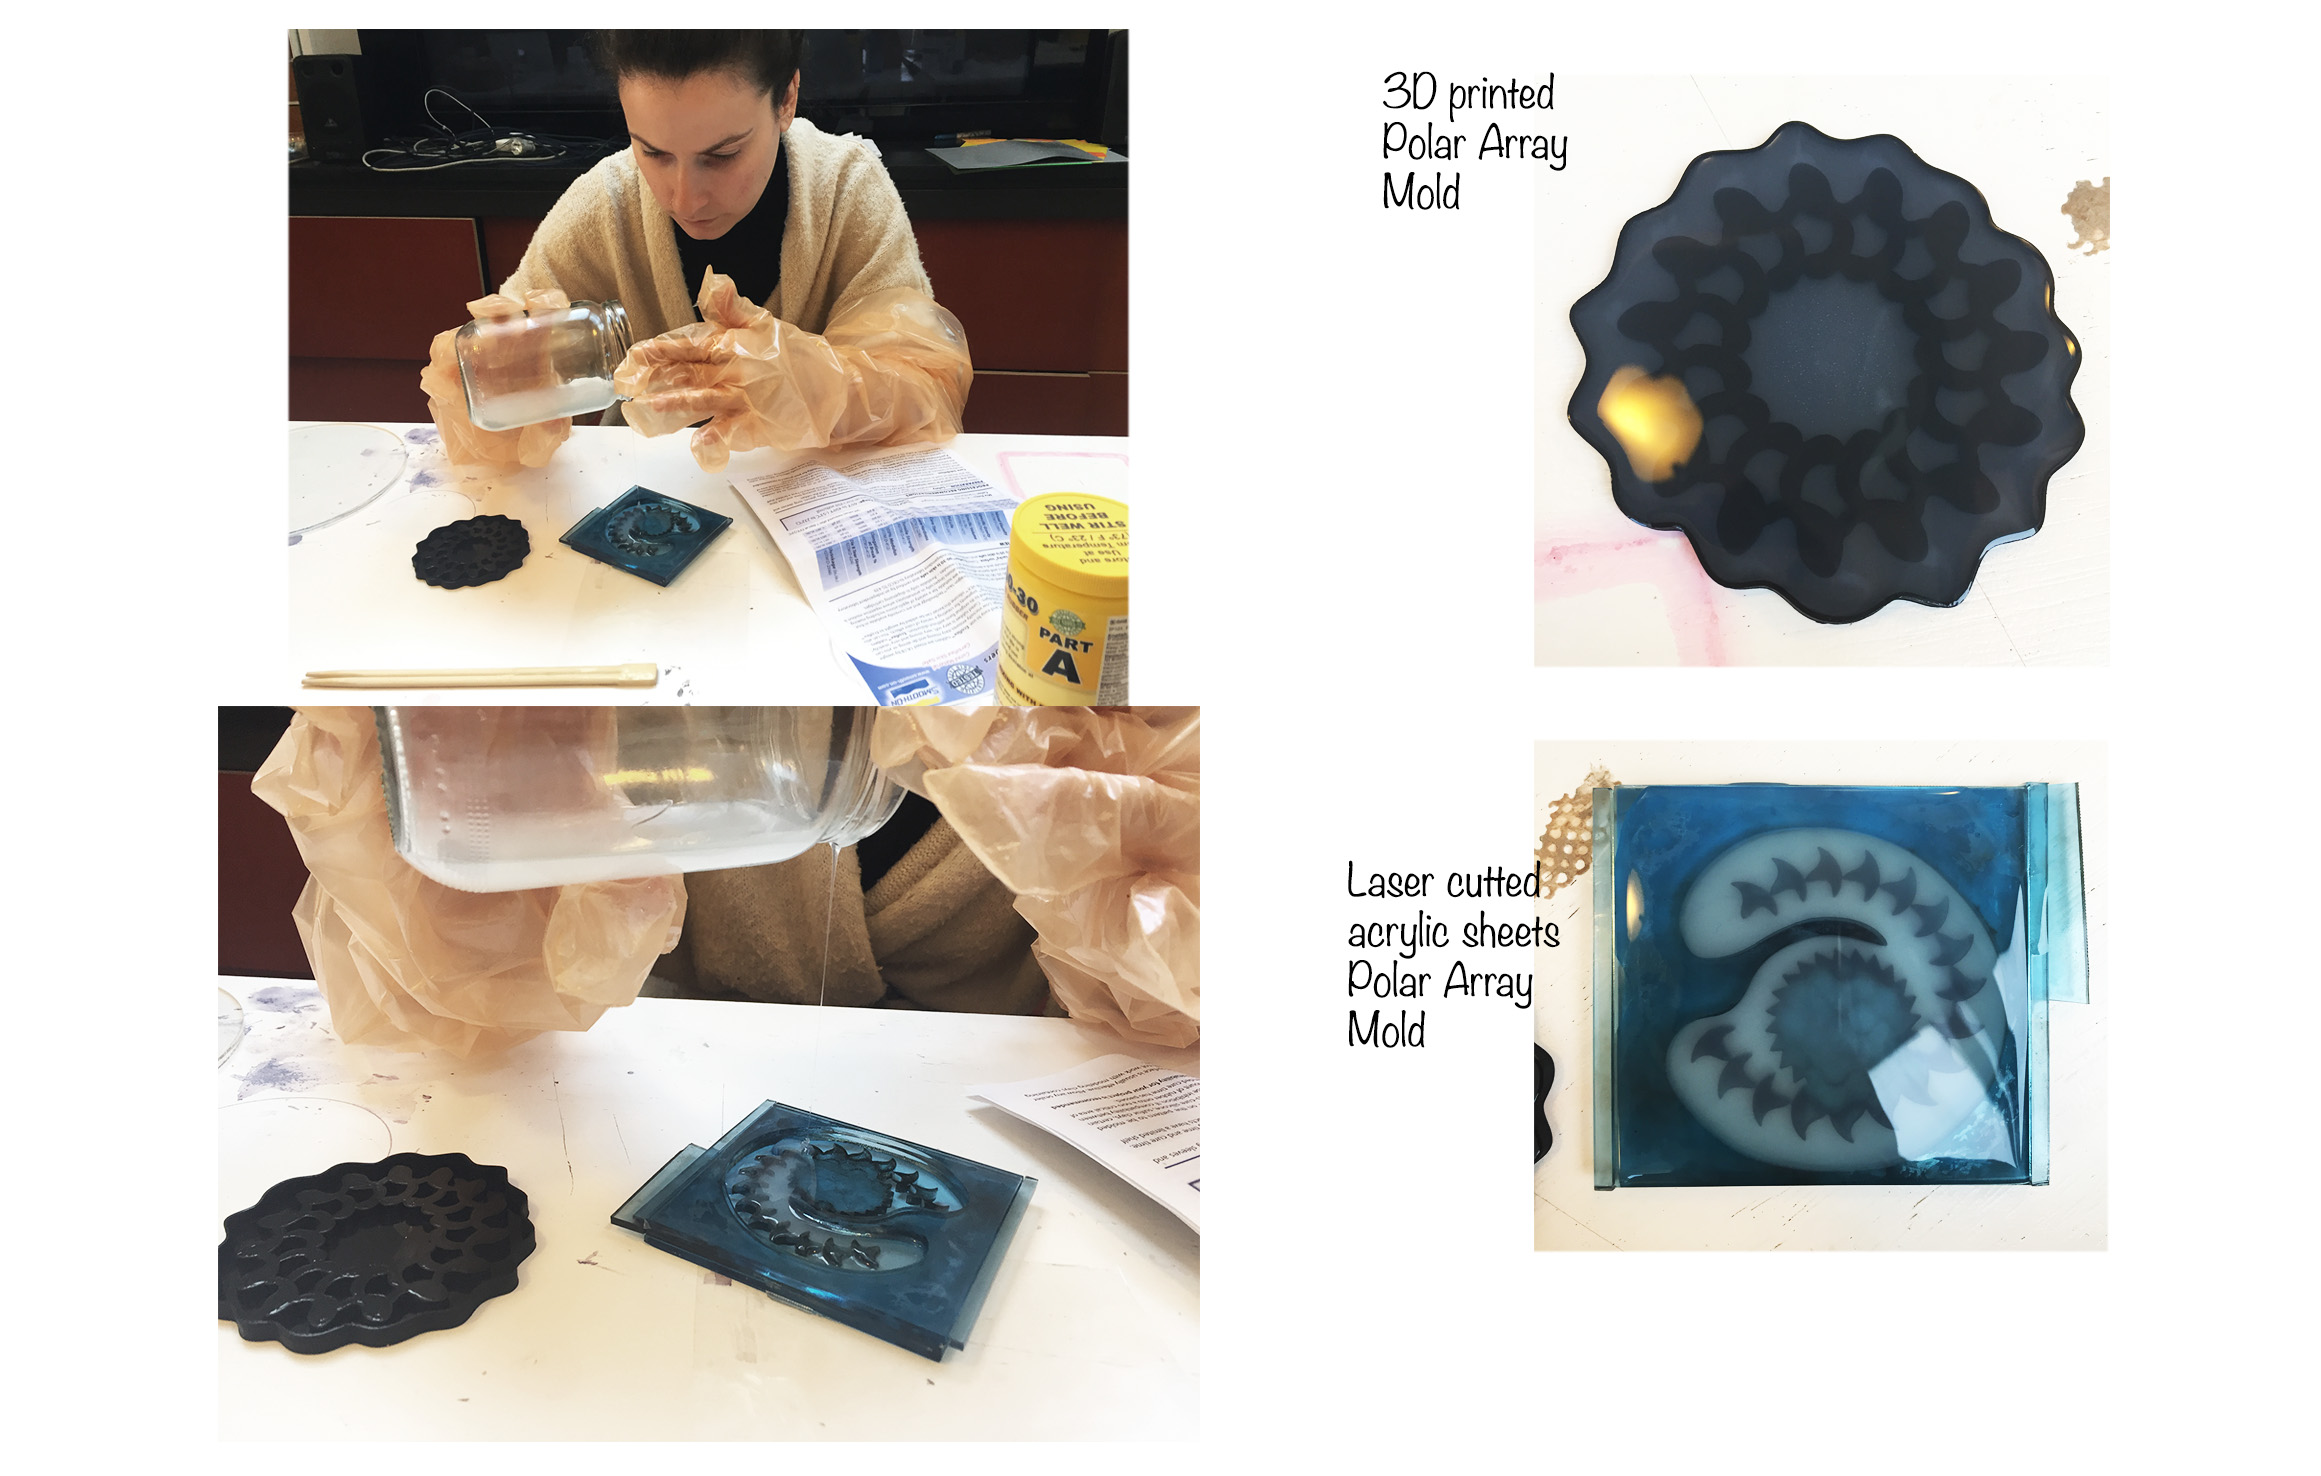
3D print mold#
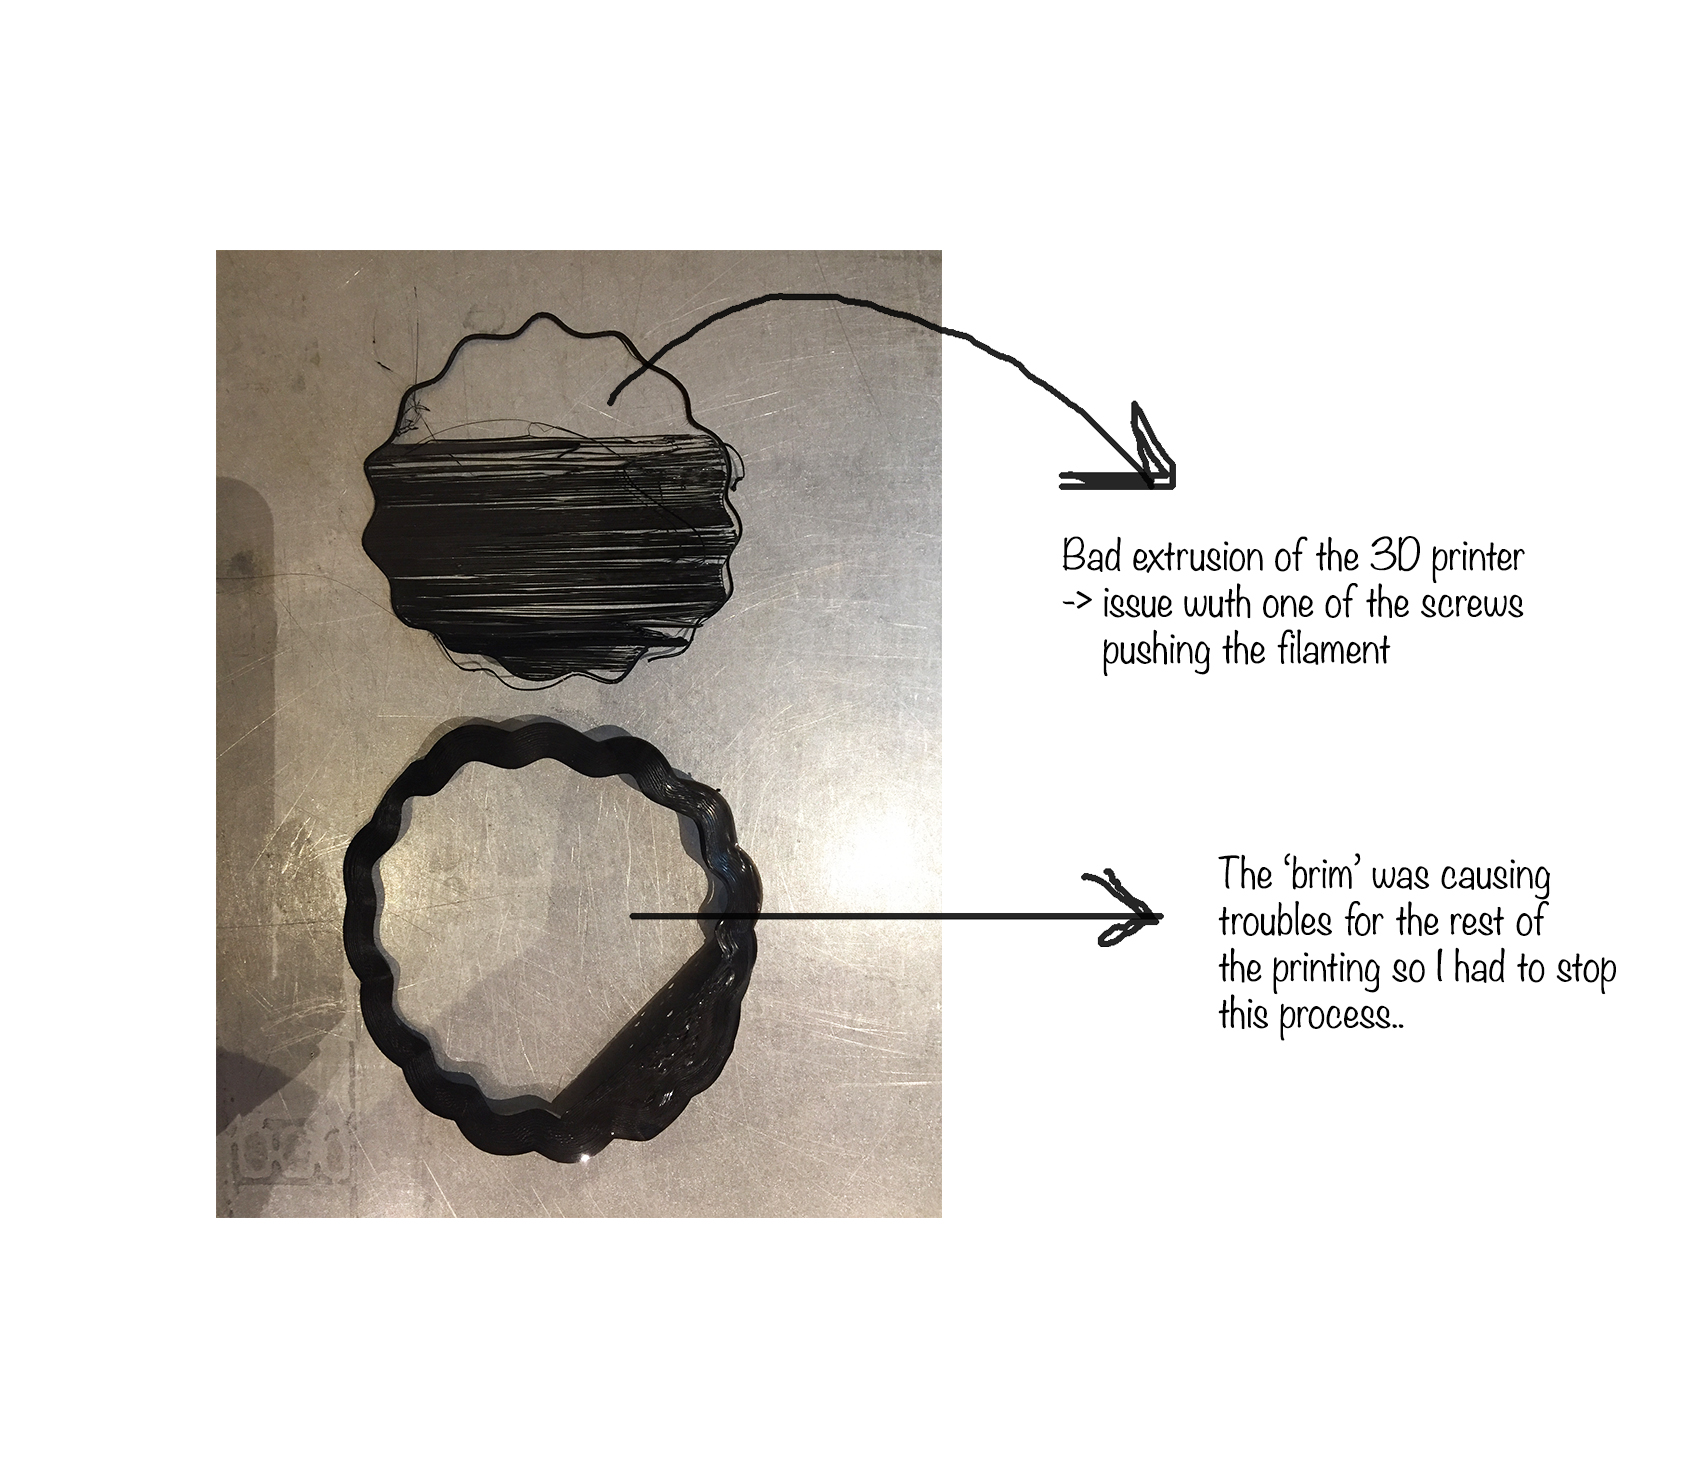
The first design I wanted it to be 3D printed.
The file was set and I was about to 3D print but the machines at the lab had quite some issues, so I ended up with a few fails at first :
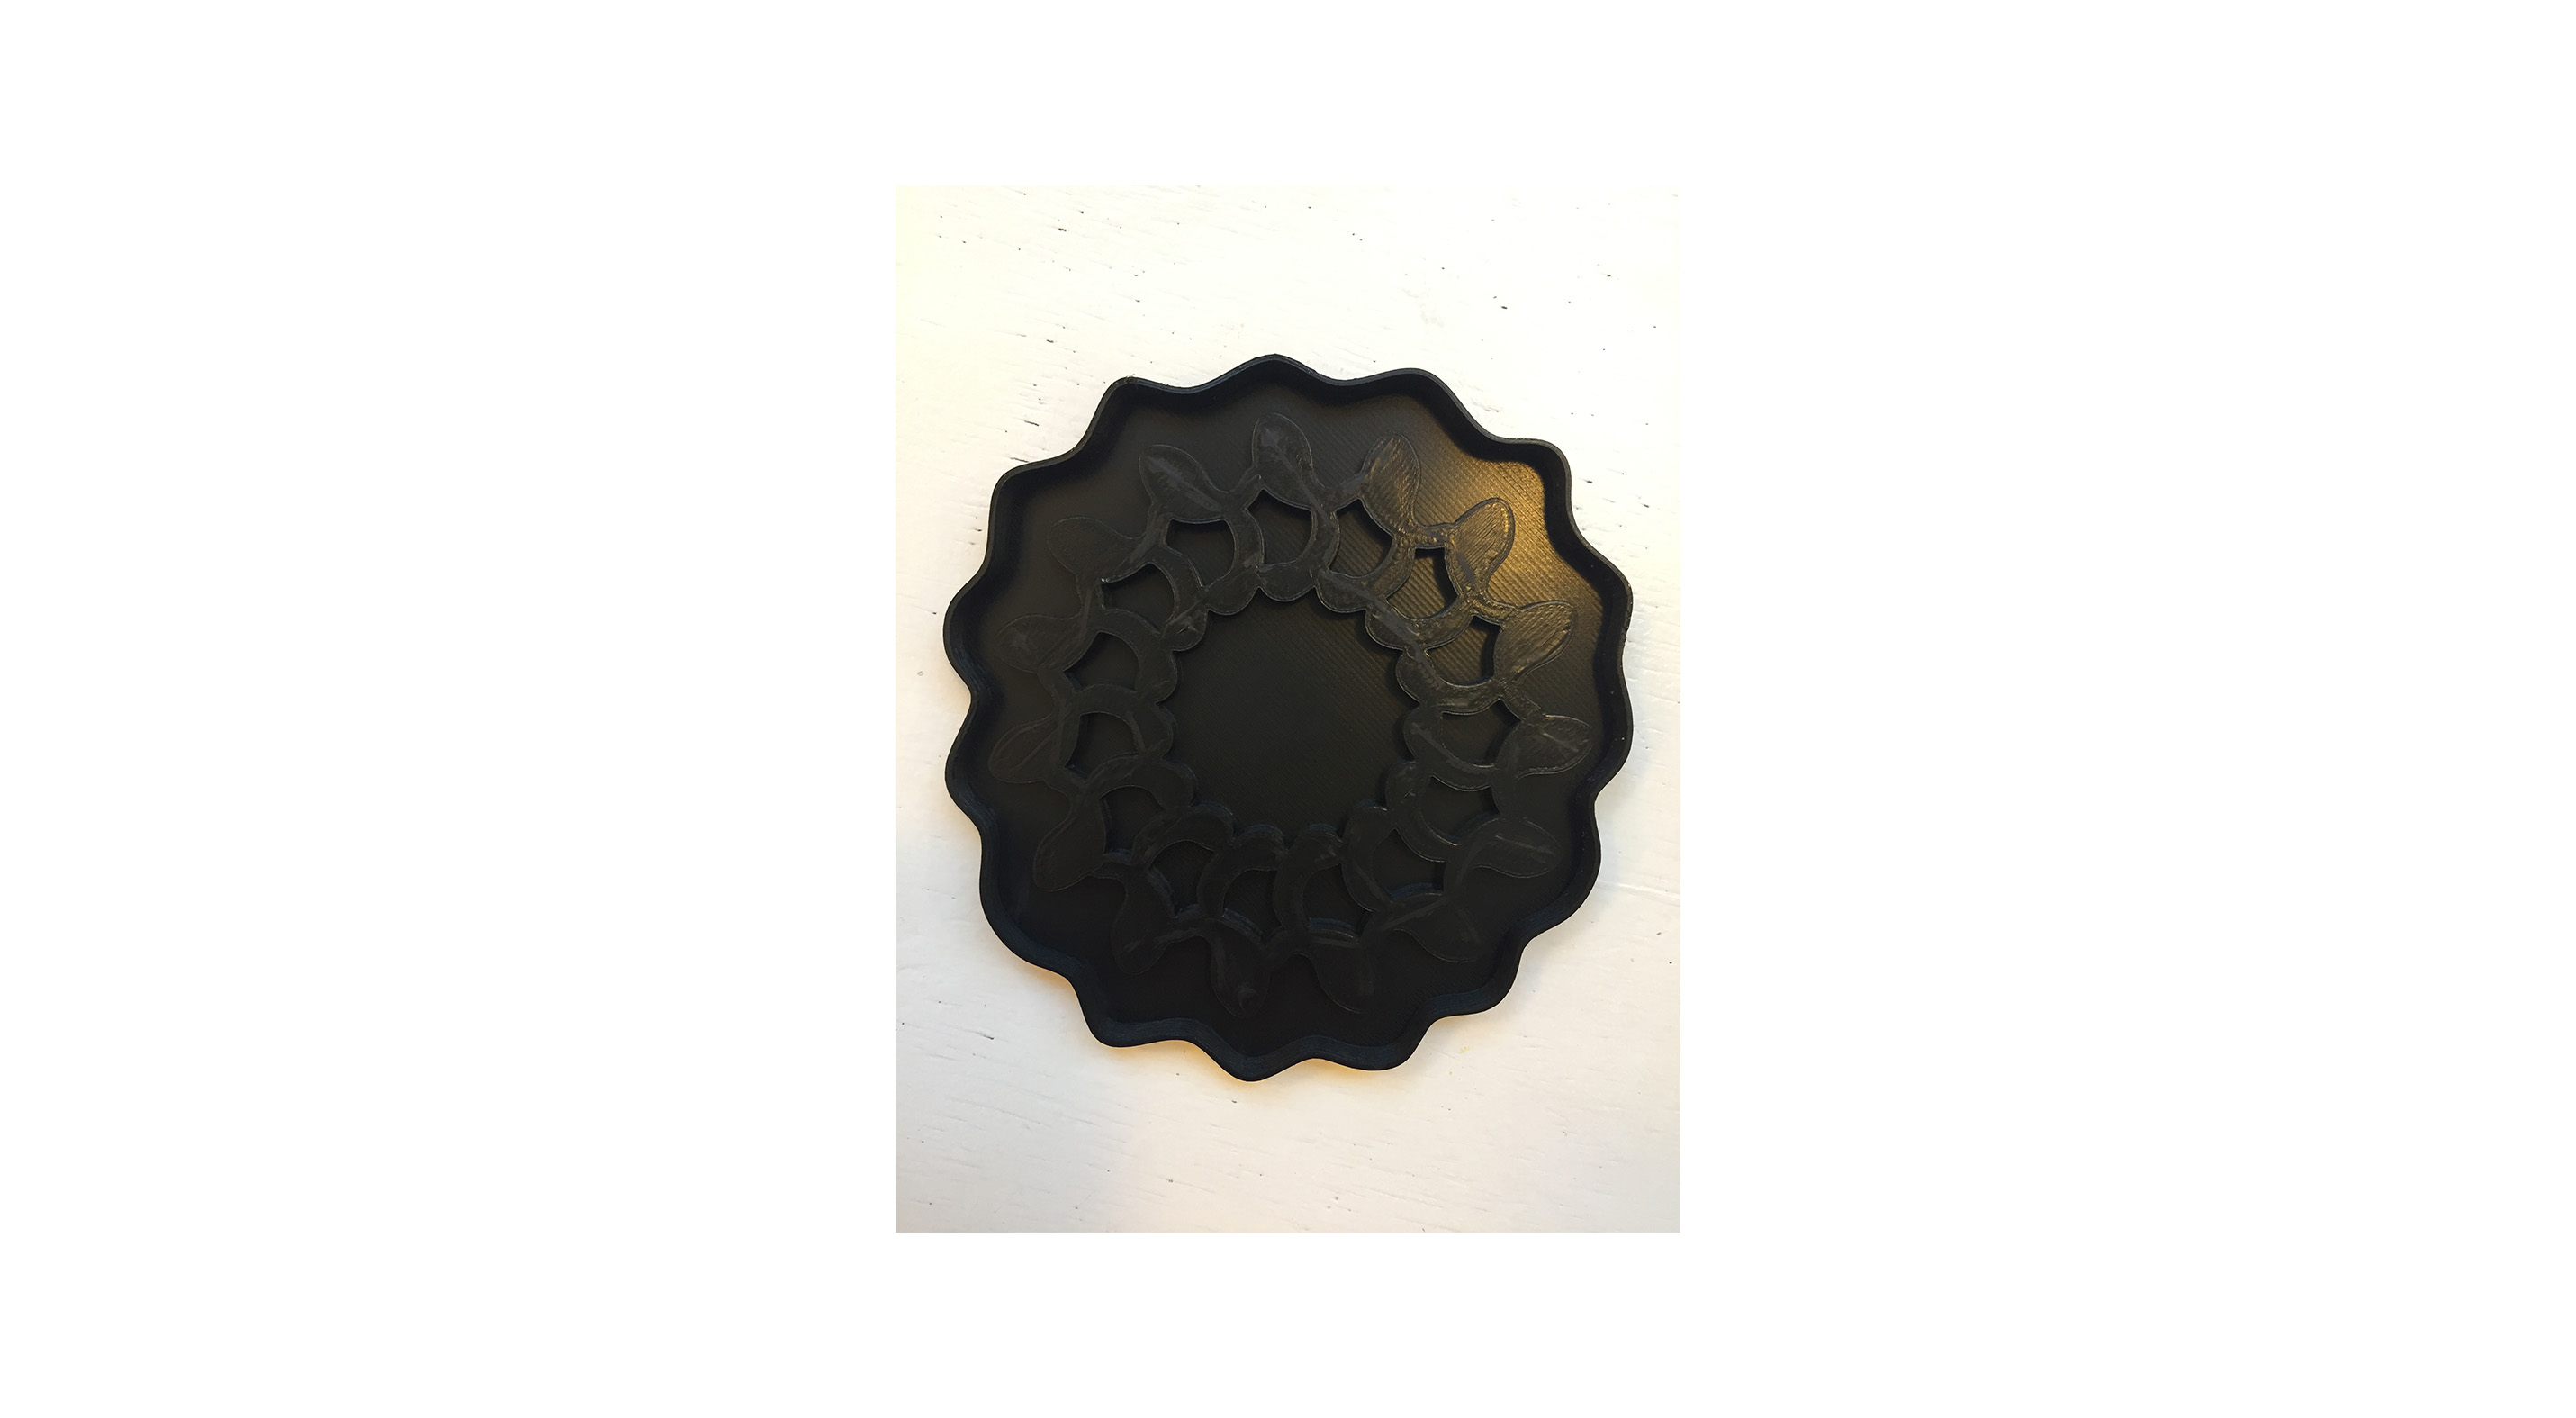
 Finally, I was able to use Franck’s Ultimaker 2+ and everything went smoothly.
Laser cut mold#
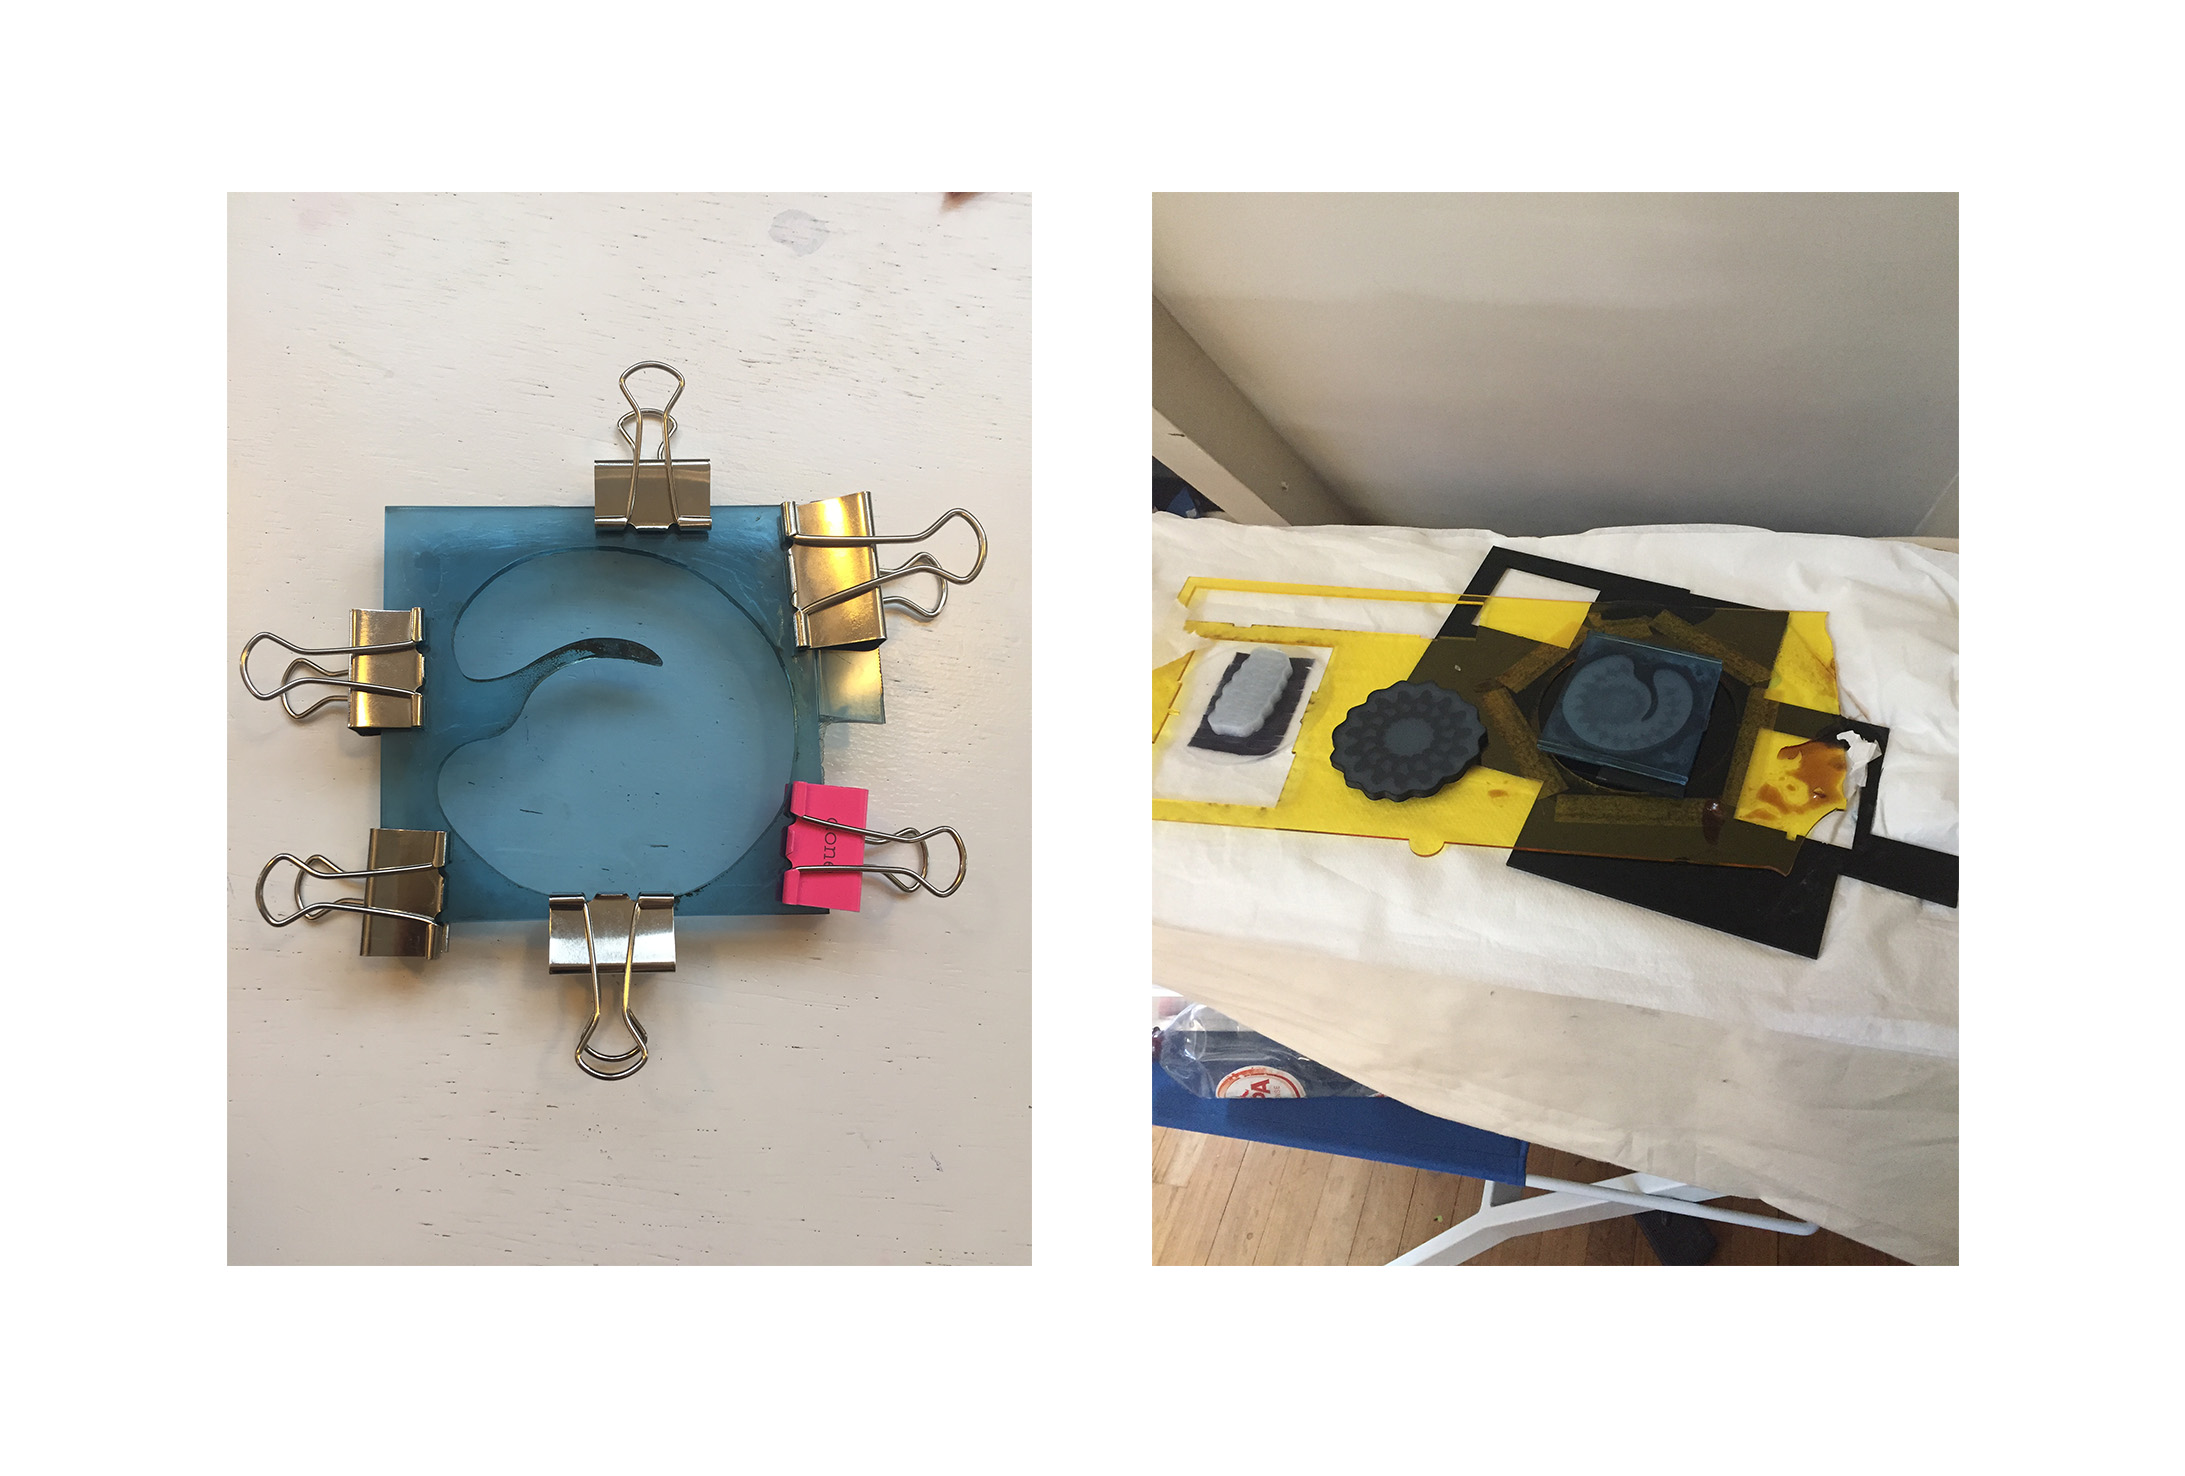
Save your illustrator file as (dxf) and lasercut your acrylic pieces. Assemble the 3 layers by gluing them together ( use clips for a better hold ).
Casting with liquid silicon#
I think casting into the molds was an enjoyable process for me. Here’s how it goes : + get a box of the Ecoflex Silicon mix + put some protection gloves on + mix both liquids 1:1 ratio together + stir until the big bubbles are gone + gently pourring into the molds + let it set and ‘dry’ for 4hrs, or put them in an environment above 24 degrees (exemple : close to a heating element or in the oven)


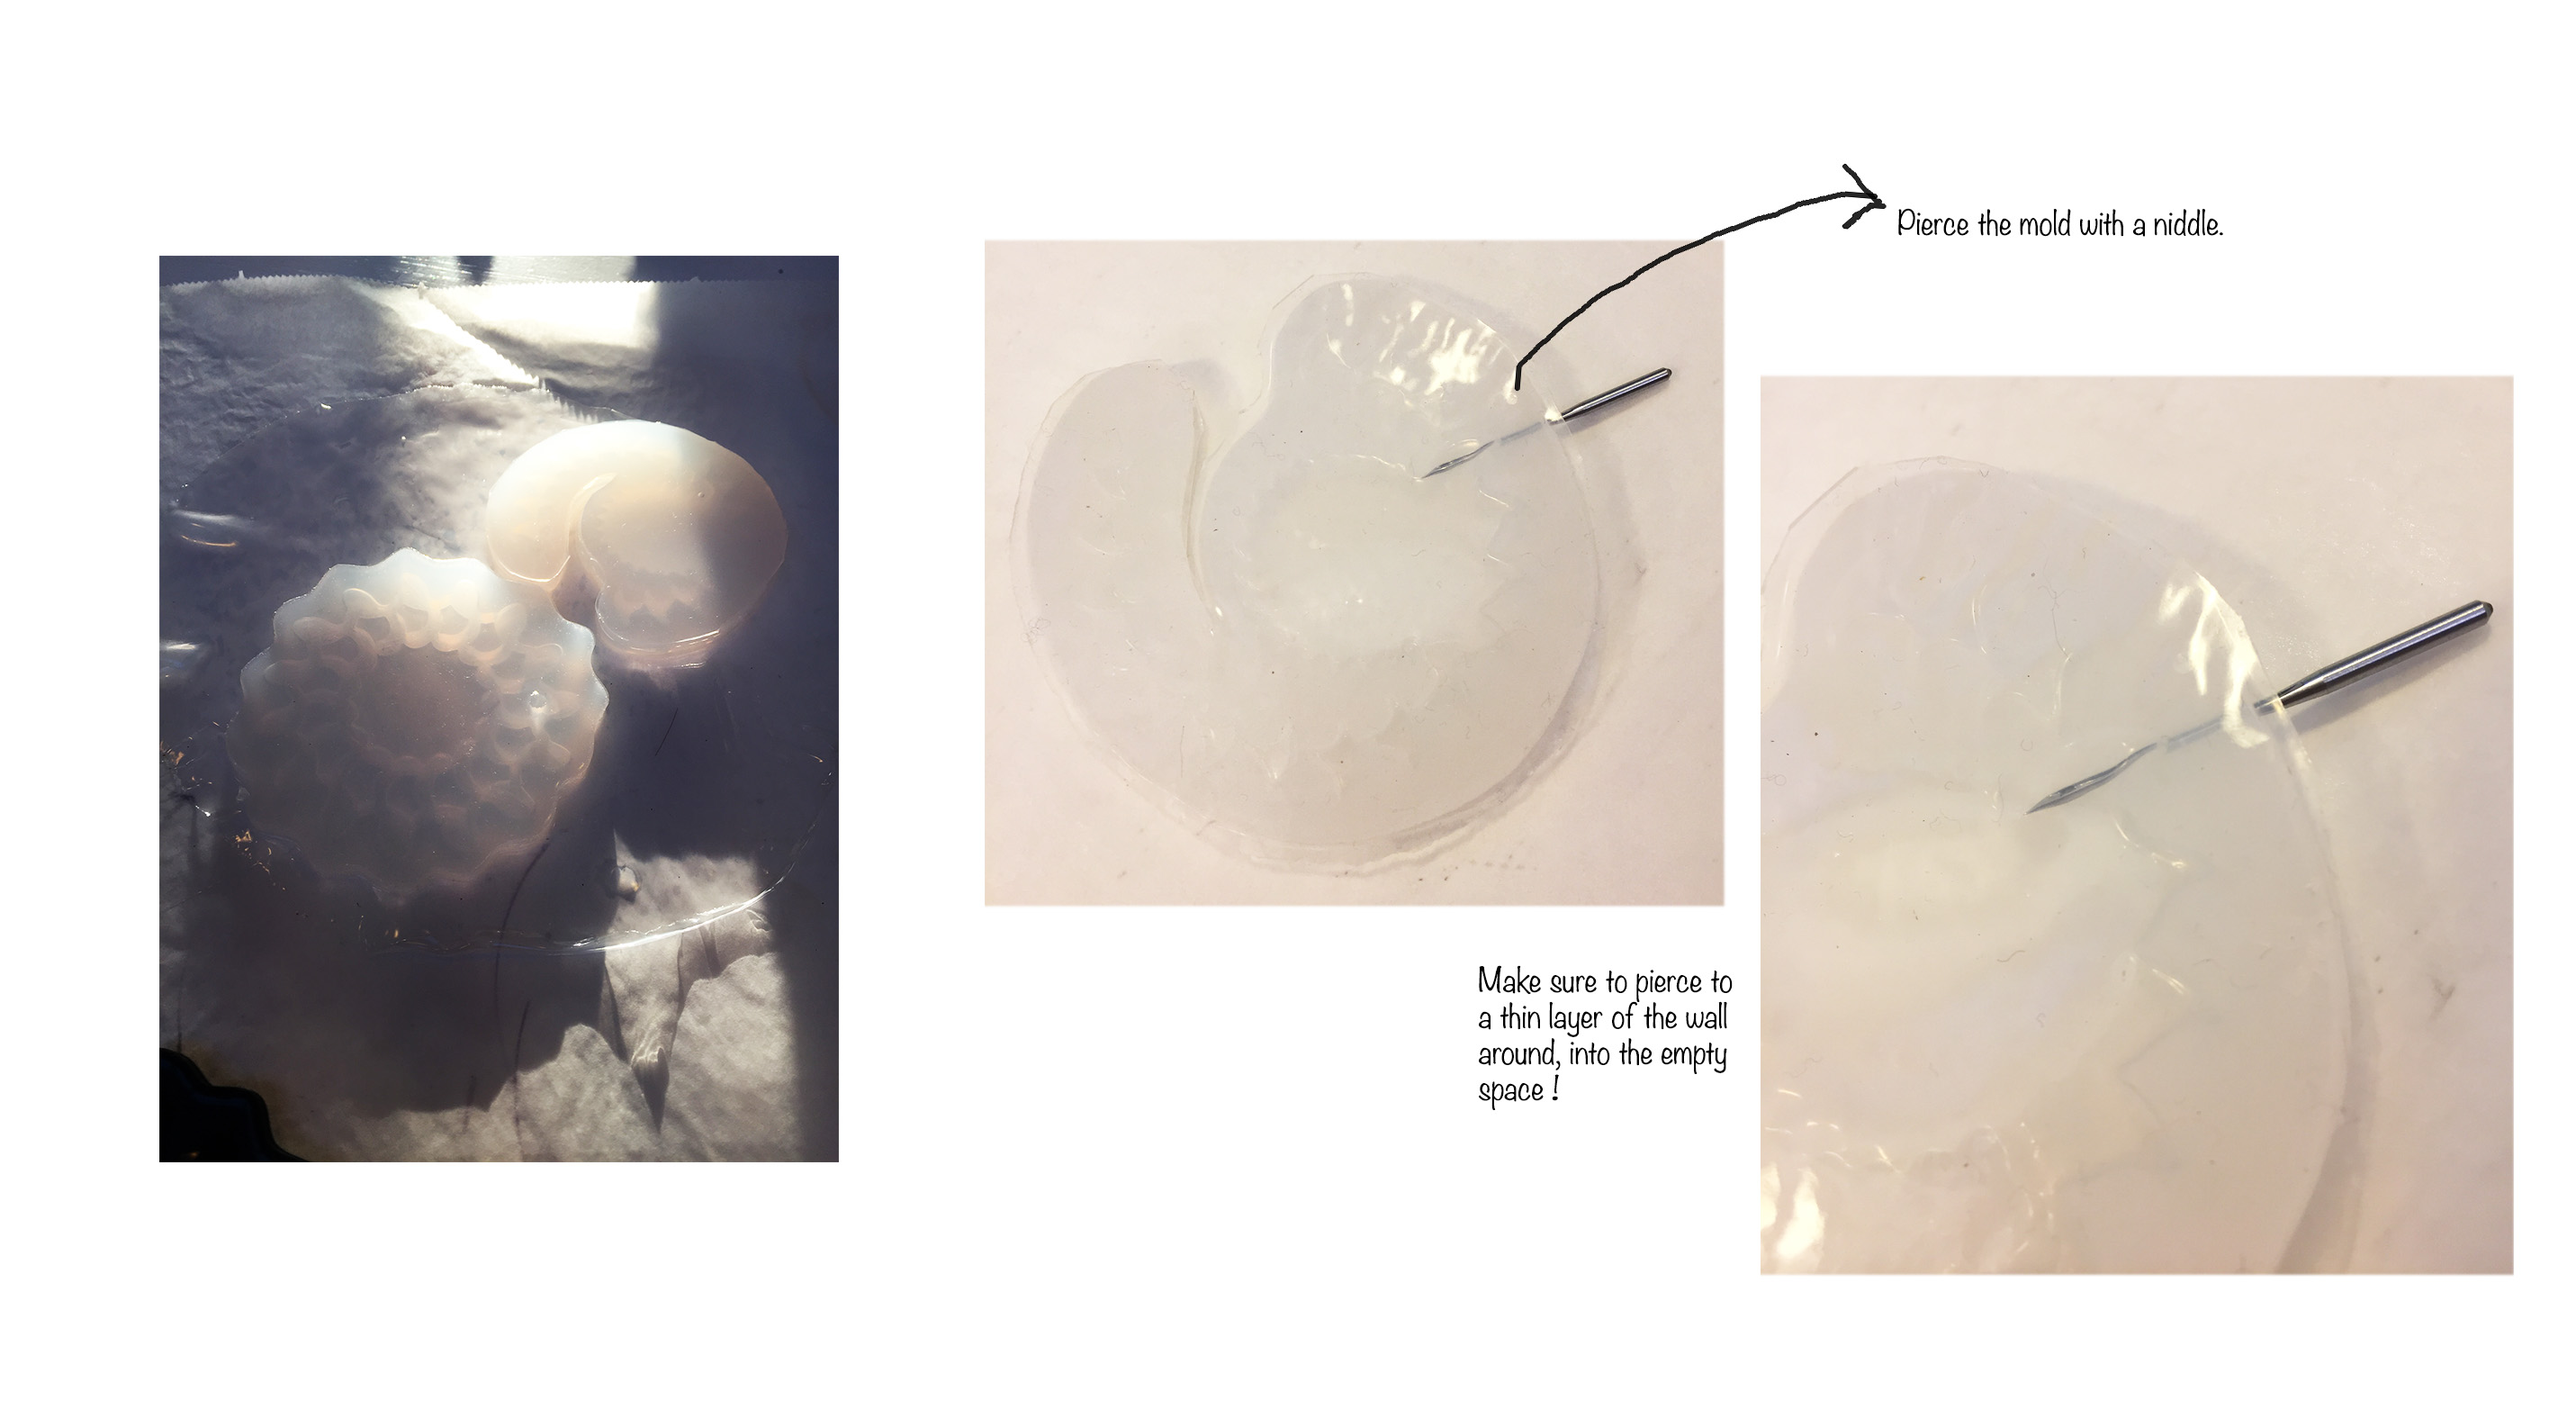
After the drying process,take the the silicon piece out of its mold.


You’ll also need to pierce a whole into the ‘air-canals’ in case you haven’t thought of integrating it into the design..
Inflate#
The 3D printed mold gives you this soft-robotic. In my opinion it ressembles a cymatic design and movement. I thought of the comparison due to my previous work on the assignment of week 3: Circular Fashion

The second design didn’t work as good..

Still some improvements to be done I guess.